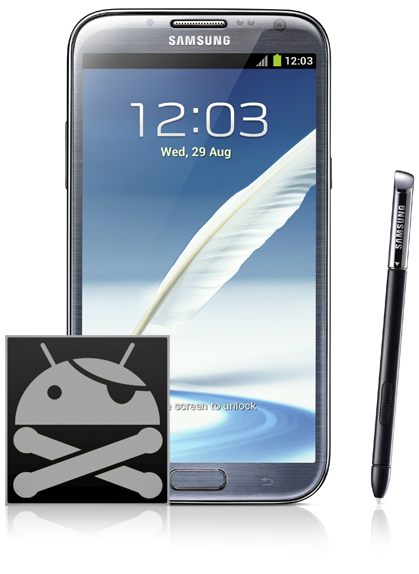
The success of a smartphone these days depends on a lot of factors, and for that reason, it’s hard to single out devices that have been successful with all sorts of crowds. For Apple, success comes mainly from the immense ease of use that their phones and tablets deliver, and from the fact that the company sells on its brand name, too. When it comes to Android. a lot of other factions come into play. For instance, the device’s hardware specifications, the Android version that it’s running, and equally importantly, how much customization friendly it is. On the last front, advanced users are more concerned with how much hackable the device is. Recently, Samsung’s high-to-middle range phones have been on a roll, not just receiving rooting methods, but also, a lot of community support.
One of the recent game changers for the Korean manufacturer has been the Galaxy Note 2 N7100. The device was quick to get a rooting procedure, a custom recovery, and then, a full all-in-one toolkit to make lives easier for all those that want to change the (software) innards of their device. However, if, for some reason, the toolkit doesn’t work for you (or you just don’t want to go down the road – it’s after all a command-line based tool, and not everyone is comfortable using those), you can root your Galaxy Note 2 LTE (N7105) on Android 4.1.2 Jelly Bean using ChainFire’s CF-Auto-Root.

Disclaimer
This guide is specifically for the LTE version of Galaxy Note 2, and while the same steps will be applicable for the international N7100 version, you have been advised. Also, follow these instructions at your own risk. We cannot be held responsible for any damage to your device as a result of following this procedure.
Requirements
- Unlocked Galaxy Note 2 LTE or International version running Android 4.1.2
- CF-Auto-Root package for your device (this one is only for the LTE version)
- Odin3 Flashing tool
- Windows based PC with Samsung USB Drivers
- 50% or more battery remaining
CF-Auto-Root package and Odin3 can be downloaded by doing a simple search on your favorite search engine.
Procedure
Step 1: Download both the root package and Odin3 to your computer and extract them to a convenient location.
Step 2: Put your Galaxy Note 2 into download mode by turning it off and powering on while pressing and holding volume down, home and power buttons. Then, hit the volume up button to enter download mode.
Step 3: Launch Odin3 and connect your device to the PC using USB cable. Odin should pick up the phone and show a yellow box with COM port, along with an “Added” message.
Step 4: Click the PDA button in Odin and point to the CF-Root package that you extracted in Step 1. Make sure not to change any other settings in Odin3.
Step 5: Hit the Start button in Odin to begin flashing. Once that is done, your device will reboot.
That’s it – you’re now rooted on Galaxy Note II N7105 running Android 4.1.2 on the stock firmware.
It’s advised to use the Toolkit in place of this method, as that’s not only easier, but also provides a lot of other features. Also, I’d reiterate that this guide and associated packages are specific to the LTE version of Samsung’s Phablet, and if you’re looking for the international version to get root, the instructions will remain same, but you’ll need the correct root package.
You can follow us on Twitter, add us to your circle on Google+ or like our Facebook page to keep yourself updated on all the latest from Microsoft, Google, Apple and the web.

