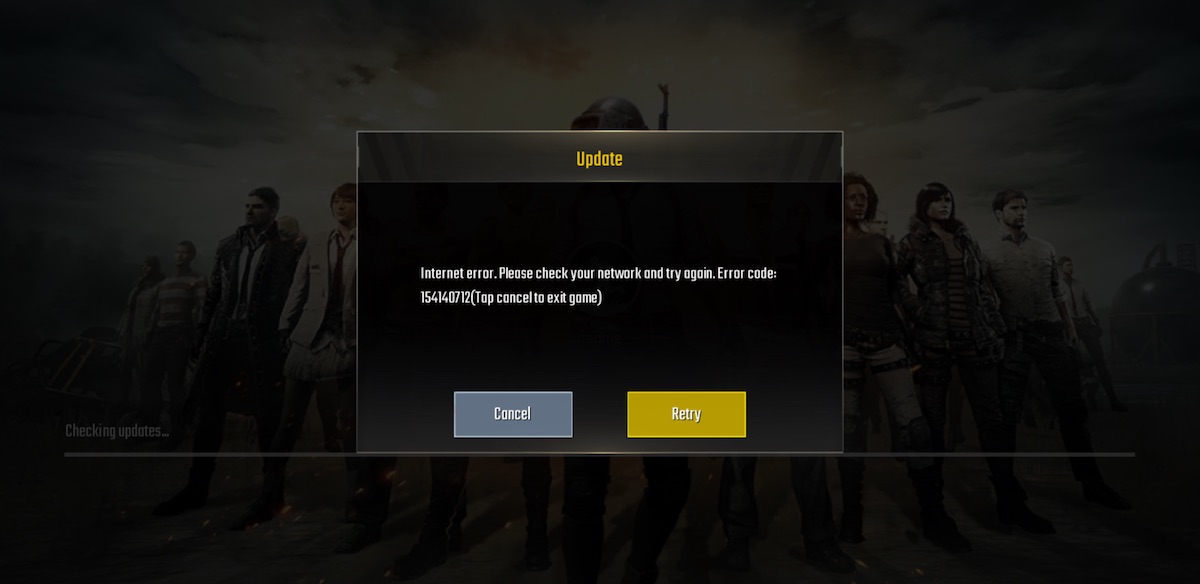
If you’re getting right into a good old game of PUBG Mobile following its recent release on iOS and Android, you likely want nothing more than to be able to continue your winning streak by hopping into games with nary a thought for whether your network is behaving itself or not. Unfortunately, that does not always appear to be possible with a number of users experiencing a rather infuriating error.
If you’ve seen the error yourself, you know how annoying it can be. If you’ve seen an “Internal Error” message pop up along with as suggestion that you check your network connection and then try again, we may have the fix you so desperately desire. Thankfully it’s not a particularly complicated one to follow, but it’s still one that you’re going to need to know how to do if you want to get right back to shooting your buddies in PUBG.

The fix we have seems to work for a good chunk of people, and it amounts to changing the DNS server that your smartphone uses when connecting to the internet. It’s likely that your phone is picking up the default DNS servers offered by your ISP and to be honest, they’re usually pretty poor quality. If you really want to get PUBG working and likely improve your whole web browsing experience as well, then you’ll likely want to give Google or OpenDNS’s servers a try.
So, how do you do that? Well, if you’re an iPhone or iPad user you follow the guide we already offered up right over here. If you’re an Android user, you’re going to want to follow the steps outlined below but remember that depending on the device you are using, things may move around a little. We’re sure you’ll figure it out though! For reference, these instructions are on a Galaxy S9+ device running the latest Android Oreo update.

Let’s get started.
- Open the Settings app on your device.
- Tap the Connections option.
- Tap on WiFi.
- Here you’re going to want to tap and hold on the WiFi connection you use and then tap “Manage network settings.”
- Under IP settings select Static and you will see new options appear. You should be able to leave the IP address and Gateway as they are, but you need to change the DNS 1 and DNS 2 settings. Choose either Google or OpenDNS servers from the options below:
Google DNS: 8.8.8.8, 8.8.4.4
OpenDNS: 208.67.222.123, 208.67.220.123 - Tap Save.
At this point your device may disconnect and reconnect to your WiFi, but if you retry your PUBG session afterwards you should, fingers crossed, be good to go. Good luck!
You may also like to check out:
- PUBG Mobile Mod APK Download For Android Now Available, Here’s What You Need To Know
- PUBG Mobile Bots: Here’s How To Spot And Remove Them [Guide]
- Fortnite Mobile 3.3.1 iOS Download For iPhone And iPad Released, Here’s What Is New
- Fortnite Mobile Streaming To Twitch From iPhone, Here’s How To Do It
- PUBG Mobile Controller Support On Android, iOS: Here’s What You Need To Know
- Download iOS 11.2.6 IPSW Links And OTA With Fix For Messages Crashing Bug
- Jailbreak iOS 11.2.6 / 11.2.5 / 11.2.2 On iPhone And iPad [Status Update]
- Jailbreak iOS 11 / 11.1.2 On iPhone X, 8, 7, iPad Using Electra Or LiberiOS [Updated]
You can follow us on Twitter, add us to your circle on Google+ or like our Facebook page to keep yourself updated on all the latest from Microsoft, Google, Apple and the Web.

