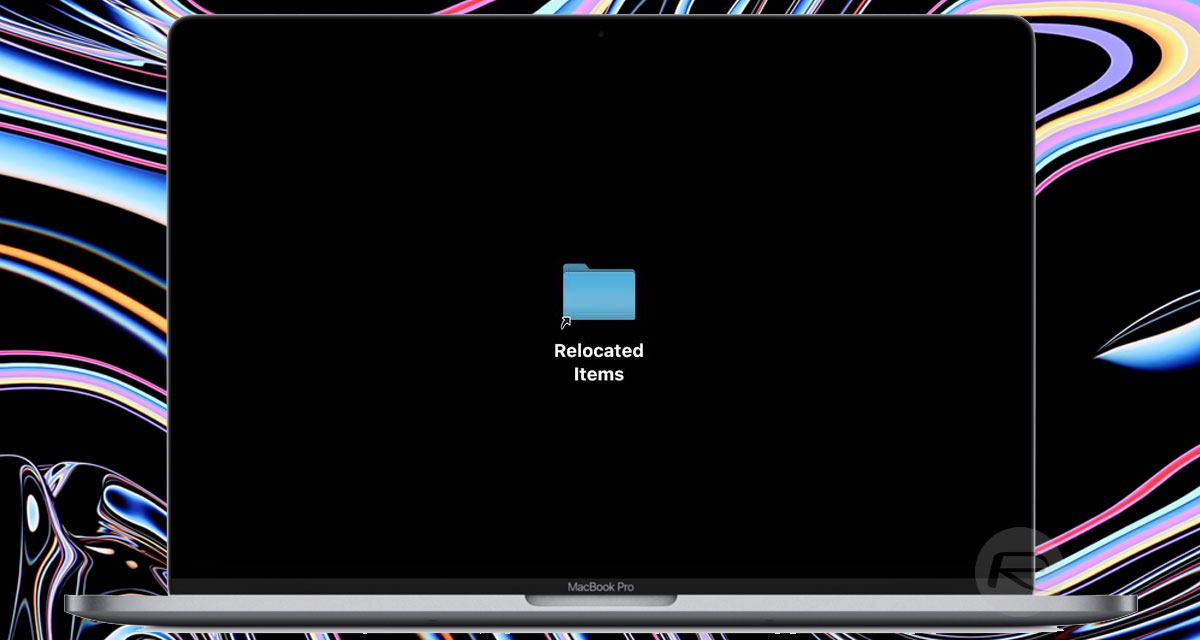
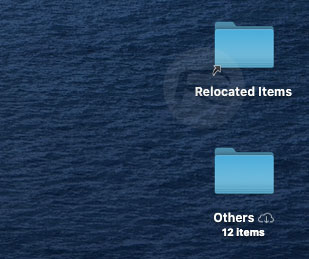
If you updated to macOS Catalina you’ve probably spotted an odd folder on your desktop. Relocated Items is a folder that we didn’t expect, but most people are seeing. So what exactly is it?
When macOS Catalina is installed there’s a lot going on under the hood. There’s no more support for 32-bit apps, for example. Kernel extensions are no more, And APFS is now fully baked with your Mac’s SSD split into two partitions; one for data, the other for Catalina.

All of that means that there is a lot of data being moved around and a lot of decisions being made by macOS. During that process it comes up against roadblocks. Files might not have a proper place on the new system or data partitions. Or they’re apps or files that are simply no longer supported. If that’s the case, they get dumped into Relocated Items.
It’s important to note that what you’re seeing on your Desktop isn’t actually the folder in question. It’s a link to the real location at /Users/Shared/Relocated Items. If you want to remove that shortcut, just drag it to the Trash and you’re done.
Deleting the actual files might take a little more work, however. Because of permissions it’s likely that you won’t be able to empty the Trash once you’ve moved the files there. In that case you’ll need to disable System Integrity Protection and try again.

SIP is there to protect your system and we’d normally never suggest disabling it. But if you’re sure this is what you want to do, here’s how to do it.
- Restart your Mac, and press and hold Command and R to enter Recovery mode.
- From the menu bar, head to Utilities > Terminal.
- In the Terminal, enter the following command, followed by hitting the Return key: csrutil disable
- Now restart your Mac once again, and then delete the files once more. Empty the trash, too. Everything should work fine.
And that’s it, your Relocated Items folder is gone for good. Just make sure there’s nothing important in there before you do it.
But don’t forget, you should get SIP back up and running again as well.
- Repeat Step 1 and Step 2 above, and with the Terminal running, enter the following command followed by hitting the Return key: csrutil enable
- Once again, restart your Mac and SIP will be enabled.
You may also like to check out:
- Download: iOS 13.2 Beta 3 IPSW Links, OTA Profile File Released
- Jailbreak iOS 13.1.3 Update: Security Content Fixes, Patches Detailed By Apple
- Downgrade iOS 13.1.3 / iPadOS 13.1.3 To iOS 13.1.2, Here’s How
- Checkra1n iOS 13.1.2 Jailbreak Based On checkm8 Exploit ‘Announced’
- Download: iOS 13.1.3 / iPadOS 13.1.3 IPSW Links, OTA Update Released For iPhone And iPad
- Best iPhone 11, 11 Pro Max Case With Slim, Wallet, Ultra-Thin Design? Here Are Our Top Picks [List]
- iPhone 11 / 11 Pro Max Screen Protector With Tempered Glass: Here Are The Best Ones
- Install WhatsApp Web On iPad Thanks To iOS 13 And iPadOS 13.1
- Jailbreak iOS 13 / 13.1 Status Update [Continuously Updated With Latest Info]
You can follow us on Twitter, or Instagram, and even like our Facebook page to keep yourself updated on all the latest from Microsoft, Google, Apple, and the Web.

