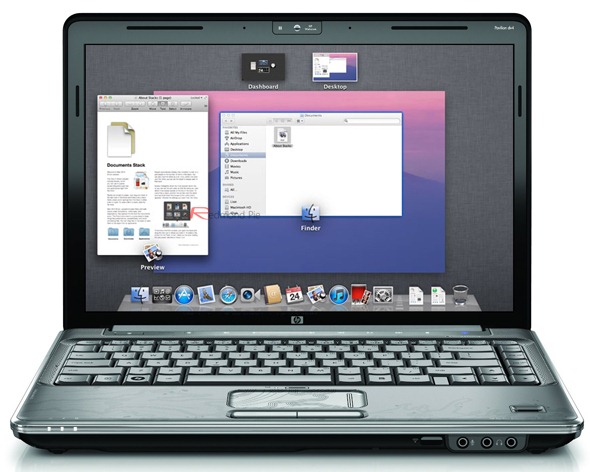
With the new OS X Lion having such a great start to life curled up inside the Mac, many of those who have built a Hackintosh PC from scratch may be wondering if it is easy enough to upgrade their systems and indulge in all the lovely newness. The answer is yes! Thanks to a fairly straightforward guide written by Tonymac, you could have your Hackintosh running Lion in no time.
Requirements
Before we start, let’s make sure you have the tech specs and apps required to upgrade. You should be running Mac OS X Snow Leopard 10.6.6 or later before you begin.
- 8GB free on your HDD (4GB of which needs to be available in "/Applications")
- Intel Core 2 Duo (minimum), 64 bit CPU
- The Lion Installer, which you can pick up from the Mac App Store for $29.99 (It’s 4GB so you may be in for a little bit of a wait if your connection isn’t lightning quick)
- Your system must be defined as Mac Pro 3,1. If not, you will need to use Multibeast to change it to 3,1. If you are unsure what your system is defined as, go to System Profile and look under Model Identifier.
- Lastly, in addition to Tonymac’s xMove tool, you will also need the latest version of Chimera bootloader. Although if you are using Chameleon, again you can use Multibeast to replace it with Chimera. Just look under "Drivers & Bootloaders > Bootloaders"
Don’t have Snow Leopard installed on your PC? Then simply follow the guide posted here on how to do so and replace Chameleon with Chimera.
1. Download Lion From The Mac App Store
Step 1: Boot into your current version of Snow Leopard and download Lion from the Mac App Store.
Step 2: Once the OS X Lion installer launches, click continue and install Lion in the partition where Snow Leopard is installed. (Note: This wont actually install Lion, it will just install the necessary files which are required for the installation later.)
Step 3: Reboot your PC.
2. How To Prepare Installer Partition
Step 1: Boot into Snow Leopard once again and open /Applications/Utilities/Disk Utility.
Step 2: In the column on the left, select your drive on which you have Snow Leopard installed.
Step 3: Now click on the Partition tab and then click on the plus (+) sign to add a new partition, refer to the screenshot below for reference:
Step 4: Rename the secondary partition as “Installer” and give it a size of 8GB. Now click on Partition.
Step 5: Close Disk Utility once you’re all done creating the partition.
3. How To Use xMove
Step 1: Download xMove from the link given above.
Step 2: Fire up xMove, and from there, choose the “Installer” drive as the Destination. DO NOT choose any other drive.
Step 3: Click continue.
4. Boot From Installer And Installing OS X Lion
Step 1: Reboot your PC, and now at the Chimera boot screen, choose “Installer”.
Step 2: Now you should be a at a screen which looks familiar to the Mac OS X installer. Go ahead and install Lion over the Snow Leopard partition or any other empty partition, your choice.
5. Setting Up Your Hackintosh With MultiBeast
Step 1: Download MultiBeast from the link given at the beginning of the post.
Step 2: Run MultiBeast. If you’re on a PC which is running on top of an Intel Core 2 Duo or the latest Core i5/i7 processor, simply choose EasyBeast. Running a custom PC? Then click on UserDSDT.
Step 3: Install all the drivers needed, such as Graphics, Sound, Ethernet etc.
Step 4: Once you’re done, simply select the “System Utilities” option and reboot into OS X Lion.
Once you’ve rebooted, the Lion installer will appear in the Chimera boot menu. Pick that as your option and you’ll boot into the OS X installer, from which you can update your Snow Leopard partition normally.
Now you should have your Hackintosh PC running OS X Lion!
You may also like to check out:
- How To Make Your Own OS X Lion Bootable USB Flash Drive [Tutorial]
- How To Make OS X Lion Bootable DVD Disc [Tutorial]
(source & image credits: tonymacx86 Blog)
You can follow us on Twitter or join our Facebook fanpage to keep yourself updated on all the latest from Microsoft, Google and Apple.

