If you’re a Mac owner, there’s a good chance you’ll be interested in downloading and installing the Developer Preview of OS X 10.10 Yosemite, which Apple took the wraps off only last week. But if you don’t want to overwrite your current set-up and would prefer to install the unfinished build separately, we’re now going to show you how this dual-boot alternative can be achieved by creating a separate partition on your OS X machine’s main storage device.
Yosemite won’t be arriving until the fall – the same point at which iOS 8 will also be hitting the scene – so unlike with previous OS X releases, users will be made to wait quite a while between announcement and retail. As such, it’s perhaps even more likely than ever that Mac users will want to see what all the fuss is about with this new preview release, and below, you’ll find step-by-step instructions on how to create a new partition and subsequently install OS X 10.10 Yosemite on it.
Prerequisites:
By following this guide, you can run OS X 10.10 alongside 10.9 Mavericks, 10.8 Mountain Lion, or any other flavor of OS X provided that your Mac is compliant with the minimum requirements of Yosemite.
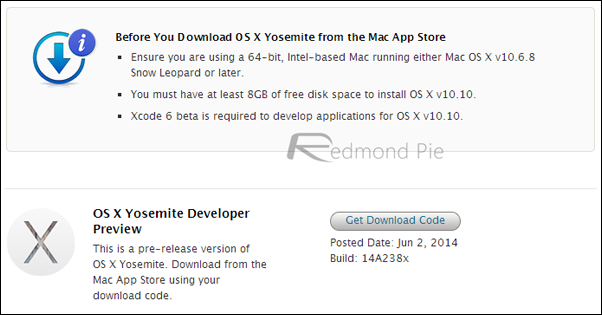
Before you get started, you will need to download OS X 10.10 Yosemite Developer Preview using an Apple Developer account, and ensure that you have at least 15GB of disk space free. We also encourage that you take a back-up of your important content, because whilst we don’t expect anything to go wrong, it’s always better to be safe than sorry in these instances.
How To Download OS X 10.10 Yosemite:
To download Yosemite Developer Preview, check out our post on how to: Download OS X 10.10 Yosemite Developer Preview 1.
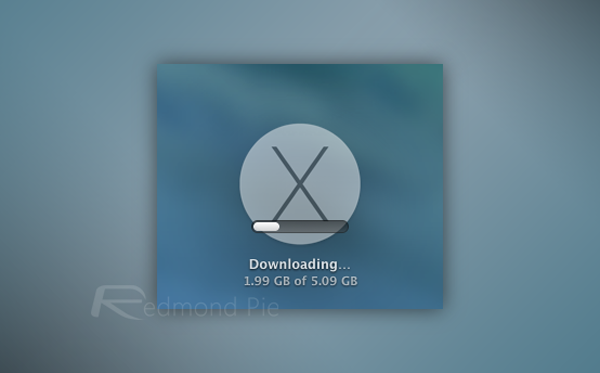
Once you’ve grabbed hold of the Developer Preview download file, it will appear in the Launchpad as a normal app being downloaded. It’s a big download spanning at 5.09GB, so it will take time depending on your Internet connection.
Creating OS X Yosemite Partition:
Step 1: Firstly, we’re going to be creating our partition. Open Disk Utility (do a Spotlight search for it), and select the hard drive you wish to partition on the left-hand side.
Step 2: Next, select the Partition tab, and click on the plus button before selecting an appropriate name for your new partition. At this point, you can allocate the size of the partition, and while 15GB is a fair amount, provisioning for more is always wise.
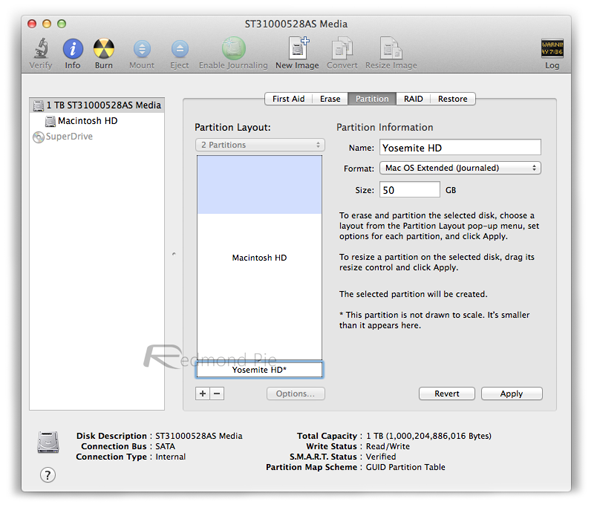
Step 3: Hit Apply to complete the creation of the partition, and then you’re ready to move onto the installing of Yosemite.
Installing Yosemite:
Step 4: Navigate to /Applications/ and look for the downloaded Yosemite installation file. Double-click to launch it. Alternatively you can also launch it from the Launchpad.
Step 5: When selecting the destination location, opt for the partition you created in Steps 2 & 3.
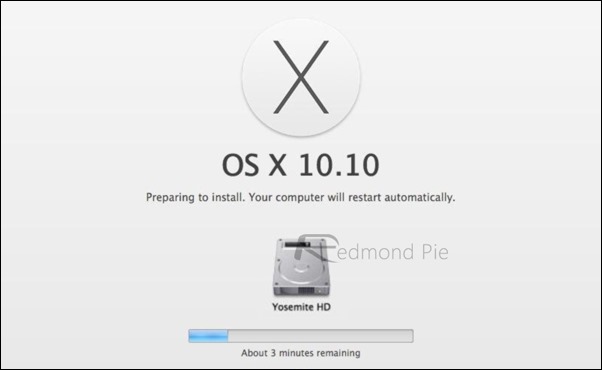
That’s it. Now wait for the installer to reboot your Mac and let it complete the installation process.
Dual-Booting Yosemite with Mavericks:
Once the process is complete, you’ll have both Yosemite and your usual OS installed, and when dual-booting, hold down the Option key to select your desired partition volume to boot.
This way, you can enjoy the best of both worlds, and whilst the OS X Yosemite Developer Preview remains an unpolished gem, is arguably the wisest option.
Removing Yosemite Partition (for later):
When you are done testing Yosemite beta and want to remove it from your Mac, simply head back to Disk Utility in Mavericks, select the Yosemite HD partition, and then delete it. Now just resize the previous partition back to the full size to get back all your space.
You may also like to check out:
You can follow us on Twitter, add us to your circle on Google+ or like our Facebook page to keep yourself updated on all the latest from Microsoft, Google, Apple and the Web.

