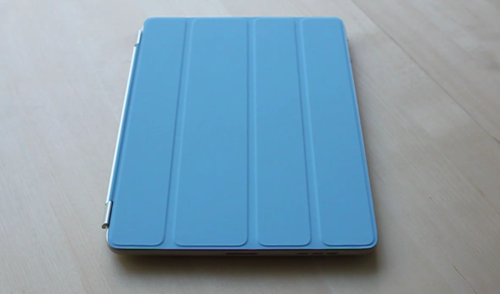
Apple’s iPad 2 is magical (and revolutionary!) in a few ways, and its 21 magnets are one of them. Built right into the iPad’s body, the magnets are there for the intriguing Smart Cover, which clips into place and auto-aligns as if by, you guessed it, magic. If only we could use the same Smart Cover with the original iPad….
Now thanks to a bit of hackery, we can.
A post at The Russians Used A Pencil shows just how to attach magnets to your original iPad in order to use the new Smart Covers. The process involves fixing 4 rare Earth magnets to your iPad using glue – something we’re not sure we could bring ourselves to do.
To place the magnets, I stuck them first to the magnetized hinge of the Smart Cover. I slid them around until they became locked into a position. This ended being asymmetrical, but I didn’t mind. I then lined up the cover with the iPad and used masking tape to mark where the magnets should be placed. I wanted this to be a somewhat permanent solution, so I used super glue to affix the magnets to the iPad. If you are not so daring, or want to test it out to make sure you like it, just use transparent tape. Even though the super glue keeps the magnets secure and in place, they are actually pretty easy to remove by just “chipping” them off with a flathead screwdriver and a very light tap of the hammer.
Unfortunately, the fancy auto-wake function of the Smart Cover doesn’t work, however.
If you are the brave type though, check out the embedded video for the how-to.
Good luck!
(via MacStories)
You can follow us on Twitter or join our Facebook fanpage to keep yourself updated on all the latest from Microsoft, Google and Apple.

