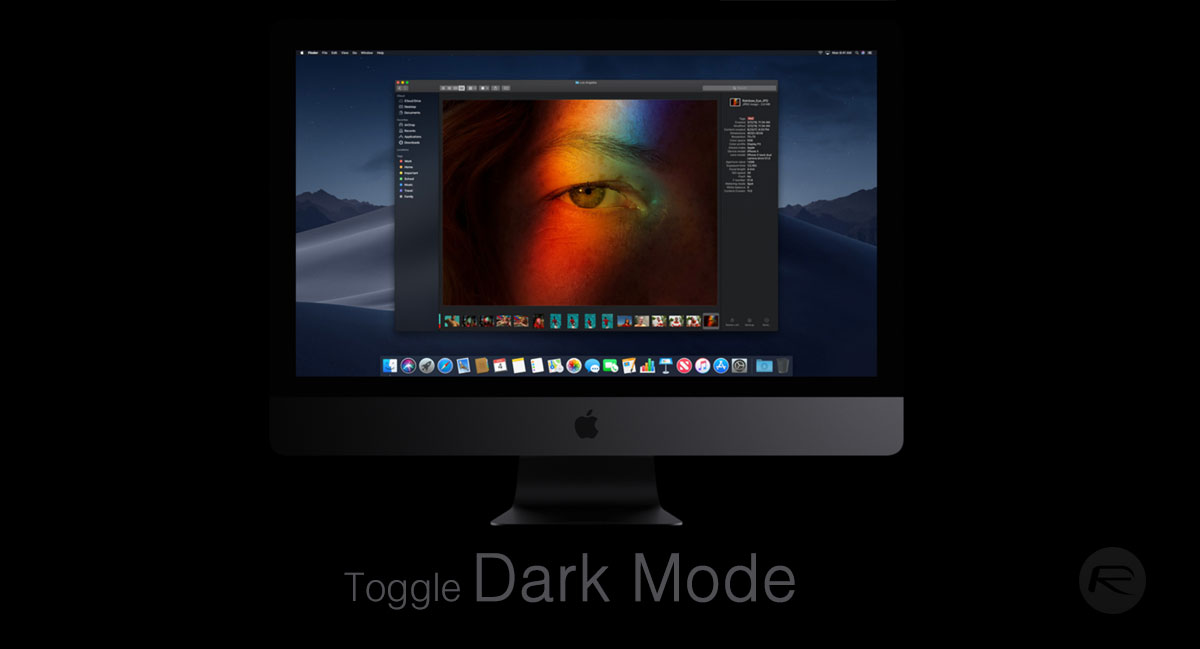
With Apple set to bring macOS Mojave to the masses later this year there is probably one main feature that has been getting most attention since the initial beta release popped up a couple of weeks ago and that of course, is Dark Mode.
It’s a feature that has been longed for and is finally on the cusp of being available, and while it’s easy enough to turn on and off via the System Preferences pane, wouldn’t it be cool if you could do it via a MacBook Pro’s Touch Bar? Of course it would – after all, there isn’t much also to really use the Touch Bar for, is there?

In order to make this specific brand of magic come to fruition you are going to need to head into the world of Automator, but thanks to Thomas Vershoren, we know exactly what needs to be done.
Let’s get started.
Step 1: Launch the Automator app on your Mac followed by selecting New Document > Contextual Workflow > Choose.
Step 2: In the WorkFlow input drop down menu select No Input. You can also select an image to appear in your Touch Bar here, too.
Step 3: In the Actions search bar, type “Apple” and double click on Run AppleScript.
Step 4: Find the script box and delete everything that is in there. You need to replace it with the following string of text:
tell application “System Events”
tell appearance preferences
set dark mode to not dark mode
end tell
end tell
Note: If you want to test this out, click the Play button. Dark Mode should be enabled and disabled with each click.
Step 5: Continuing on, select File followed by selecting Save and then giving the workflow a name. We suggest “Dark Mode”.
Now you are going to create a keyboard shortcut and if you don’t have a Touch Bar-equipped MacBook Pro, this is how you can enable or disable Dark Mode, too.
Step 6: Open System Preferences followed by Keyboards and finally, the Shortcuts tab.
Step 7: Select Services and look for Dark Mode in the list. Tick the box beside the entry and click Add Shortcut.
Step 8: Enter the keyboard combination that you’re going to use. Remember, this needs to be a unique combination so you can’t use anything that is already assigned.
That’s it! You can now use the assigned keyboard shortcut to toggle between standard and dark modes on macOS Mojave. That said, what if you wish to create a toggle like this for your MacBook Pro’s Touch Bar?
Create Dark Mode toggle shortcut for MacBook Pro Touch Bar:
Step 1: Head to System Preferences one last time, followed by Extensions and then Touch Bar.
Step 2: Make sure that the Dark Mode workflow is enabled and head back to Keyboard > Customize Controlstrip.
Step 3: Now you can simply drag your Dark Mode workflow into the Touch Bar, and you’ll be done!
Once all this is done you will be able to enable or disable Dark Mode at a keystroke or if you own a MacBook Pro with a Touch Bar, at the touch of a button. Sweet, isn’t it?
You may also like to check out:
- iOS 12 Beta 2 Release Notes, Changes: Here’s Everything New
- Download: iOS 12 Beta 2 IPSW Links, OTA Update Released
- PUBG Mobile 0.6.0 APK Download, iOS App Of Final English Version Released, Here’s What Is New
- 100+ iOS 12 Hidden Features For iPhone And iPad [Running List]
- Download iOS 12 Beta 2 Configuration Profile File Without Developer Account
- Download iOS 12 Beta 2 IPSW Links & Install On iPhone X, 8, 7, Plus, 6s, 6, SE, 5s, iPad, iPod [Tutorial]
- How To Downgrade iOS 12 Beta To iOS 11.4 [Tutorial]
You can follow us on Twitter, add us to your circle on Google+ or like our Facebook page to keep yourself updated on all the latest from Microsoft, Google, Apple and the Web.
