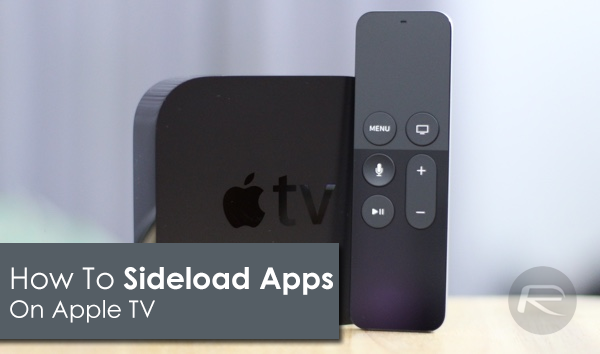
One of the great things Apple introduced with Xcode 7 is the ability to natively install apps onto devices without having to go through the App Store, without jailbreaking and without a paid Apple Developer account. This is particularly relevant for proof-of-concept software and projects that will never make it onto the App Store. This type of installation is more popularly known as “sideloading”, and we’re going to take a look at how to do it on the new Apple TV 4.
With this method, you can install apps such as SNES/Game Boy/Sega game emulators (Provenance), a web browser, and a ton of other apps that Apple won’t usually allow on the tvOS App Store.

Here’s what you will need to do to get started.
Requirements:
- A fourth-generation Apple TV unit running the latest version of tvOS.
- An active free Apple Developer account. No need to pay $99 for it. If you don’t have one, you can sign up for free at developer.apple.com.
- A Mac with Xcode 7 installed. It can be downloaded from the Mac App Store for free from here.
- A downloaded Xcode project that has been made available by the developer to sideload onto the Apple TV via Xcode.
- A USB-A to USB-C cable.
How to sideload apps on Apple TV:
Step 1: First and foremost, you’re going to need to use the USB-A to USB-C cable to connect the Apple TV to your computer.
Step 2: Using the supplied power cable that shipped with the Apple TV, connect the unit to the power outlet.
Step 3: Now, you’re going to actually need to download the codebase of a project that has been made available to sideload. There is a great tvOS resources entry on GitHub that has some great repositories in it to download. Find one that you want, and copy the clone URL found under HTTPS clone URL in the right sidebar to the clipboard on your computer.
Step 4: On your computer, launch Xcode and select the Source Control option from the top menu in Xcode followed by Check Out.
Step 5: Paste in the clone URL that was copied to your clipboard in Step 3, under the repository location.
Step 6: From the resulting interface, select the Master branch of the repository, then click Next and select the Download option.
Step 7: The project will then download to your chosen location on the computer before loading up in Xcode. On the top bar of Xcode, right beside the Play and Stop buttons, select where it reads the name of your project > [projectname]TV-release, and from the corresponding drop-down menu, choose the connected Apple TV from the list of available devices.
Note: If there is no Apple TV connected via USB then Xcode will provide a Simulator option. When connected, the Apple TV name will be displayed alongside this.
Step 8: Now run the project by clicking on play button (Build) to install it to the connected Apple TV.
Step 9: As part of the process, Xcode may ask you to sign in with your free developer account to provision the installation of the application. Do that if you haven’t already done it.
Step 10: Once installed, disconnect the Apple TV from the USB slot of the computer and connect as normal to your television set, and invoke the sideloaded app.
You may also like to check out:
You can follow us on Twitter, add us to your circle on Google+ or like our Facebook page to keep yourself updated on all the latest from Microsoft, Google, Apple and the Web.
