Anyone who’s ever purchased a stock device – computer, notebook or cell phone – from any OEM, is bound to have come across bloatware. Essentially, this is bundled software that the manufacturer chooses to incorporate within the device for certain purposes; sometimes, the software may be useful in some cases. Either way, bloatware isn’t something that’s usually welcomed by end users, because they’d, for the most part, make the device slower, underperform, and take up unnecessary resources on your device.
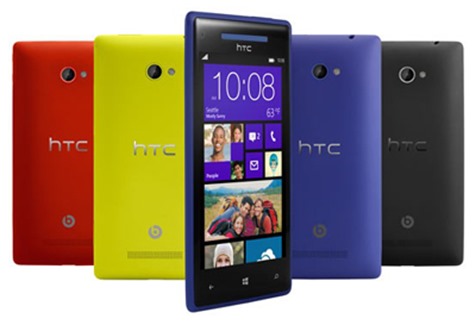
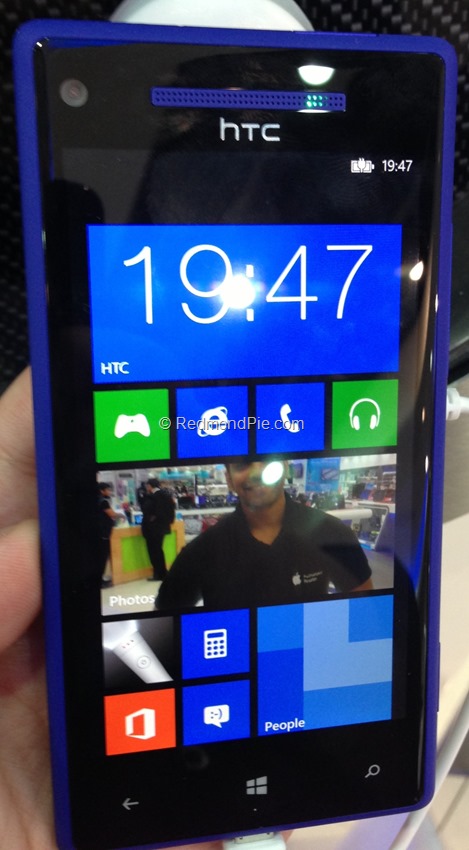
HTC has been one of the most renowned OEMs for creating functional and aesthetically pleasing custom skins, with the most popular of them being their Sense UI for Android and Windows Phone/Mobile. There’s no doubt that it’s one of the best custom skins out there, but the problem arises when you purchase a device from a carrier. The OEMs do not include much stuff themselves, but when it comes to carriers, they choose a completely different route. On that note, HTC’s 8X is one of the most popular Windows Phone 8 devices. While the device itself is capable, and the OS is a huge improvement over previous iterations of the operating system, the branding that comes with a carrier phone is really annoying. Luckily, thanks to XDA member xboxmod, you can unbrand your HTC 8X, provided that your device meets certain criteria.
Requirements
Before we go on with the requirements, please remember that this process will work only on a Vodafone branded HTC 8X, involves flashing a stock ROM (at least, that’s what it has been tested on). The standard disclaimer also applies; you follow these instructions at your own risk. We cannot be held responsible for any damage to your device whatsoever.
The process will also allow you to bypass the CID check like WP7 goldcard, and will also fix boot loops on your HTC 8X.
- Any PM232****/c620e device with bootloader version before 162966
- A Y-Cable
- SD Card or USB Drive key
- Official HTC_Europe_2.00.401.03 ROM
- The following three extracted files from the ROM
- RUU_Signed.nbh
- UEFI_signed.nbh
- ACDU_UEFI_PROV_KEY.nbh
Procedure
Step 1: Format the SD card/USB key in FAT32.
Step 2: Place the RUU_Signed.nbh file to the USB key, and rename it to ACDUDIAG.nbh
Step 3: Connect the USB key to the Y-cable, and power off the phone.
Step 4: Now, with the camera button pressed on the device, connect your 8X to the cable. You will see ACDUDIAG.nbh on top of your device, and flashing will start. The device will reboot to bootloader mode.
Step 5: Now, rename the UEFI_Signed.nbh file to ACDUDIAG.nbh, and flash it using the same process. The device will again get stuck on bootloader screen.
Step 6: Finally, rename the ACDU_UEFI_PROV_KEY.nbh to ACDUDIAG.nbh, and flash that one, too. The device will again get stuck on bootloader.
Step 7: For the last time, now flash the full ROM RUU_signed.nbh. The final reboot will land you with a fully unbranded HTC 8X with official HTC stock ROM. Enjoy!
For more information, download links and technical assistance, visit the source link below.
(Source: XDA-Developers forum thread)
You can follow us on Twitter, add us to your circle on Google+ or like our Facebook page to keep yourself updated on all the latest from Microsoft, Google, Apple and the web.


