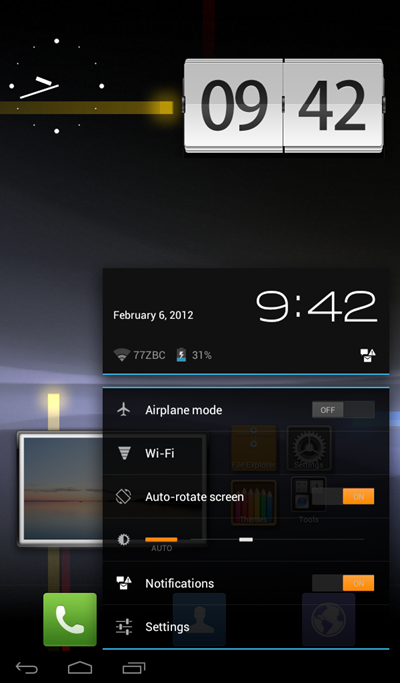
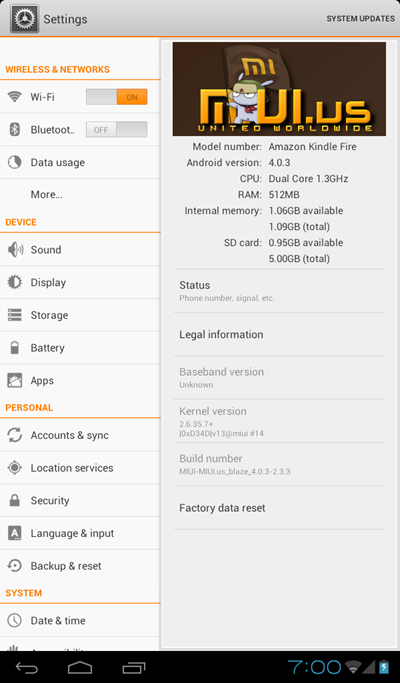
Amazon’s $199 Kindle Fire is one of the best tablets money can buy for under $300. Besides offering tight integration with Amazon’s services and doubling as a great eBook reader, it is hacker-friendly: the device is rooted, has lots of great ROMs available and is heavily supported by a vibrant community of skilled developers.
Earlier today, we received news of the official release of MIUI for Kindle Fire. The good news is that it is based on Android 4.0.3 Ice Cream Sandwich and is pretty stable (for a ROM in Alpha state). Things like USB tethering, static wallpapers, hardware acceleration and themes don’t work, but they will be in the future. Check out our step-by-step guide after the jump!

Before you start following the guide, you need to meet two conditions: #1 your must root Kindle Fire and #2 flash a custom recovery to it. Besides this, you must keep in mind that flashing a new ROM like MIUI involves the deletion of all personal data on your Kindle Fire, so be sure to back it up!
DISCLAIMER: Redmond Pie will not be held responsible if you lose data or your device gets damaged in the following of this guide. Proceed at your own risk.
Step 1: Download the latest version of MIUI for Kindle Fire based on Android 4.0.3 ICS [Official Thread].
Step 2: You must transfer this .zip file directly under /sdcard on your Kindle Fire. You can either do this on the Kindle Fire itself after downloading the ICS to it, or through a file explorer on the desktop. Works either way.
Step 3: Once transfer is complete, shut down your Kindle Fire.
Step 4: Boot into a custom recovery. ClockworkMod Recovery and TWRP are popular choices and you can choose to install whichever you like.
Step 5: Take a NANDROID backup. This may come handy later on if you have problems with MIUI and wish to revert back to current setup.
Step 6: Do a complete wipe & factory reset from the custom recovery.
Warning: This will delete all your personal data.
Step 7: Flash the ROM you transferred to your Kindle in Step 1. In CWM, you can do this from install zip from sdcard > choose zip from sdcard > [.zip file from Step 1]
Step 8: Wipe both cache and Dalvik cache.
Step 9: Reboot!

If you followed the steps correctly, your Kindle Fire will now boot into MIUI based on Android 4.0.3 Ice Cream Sandwich.
Have queries? Check out the official thread over on MIUI forums.
You may also like to check out:
- How To Install Android 4.0.3 Ice Cream Sandwich On Kindle Fire [Tutorial]
- Download And Install CyanogenMod 7 On Kindle Fire [How-to Tutorial]
You can follow us on Twitter, add us to your circle on Google+ or like our Facebook page to keep yourself updated on all the latest from Microsoft, Google, Apple and the web.

