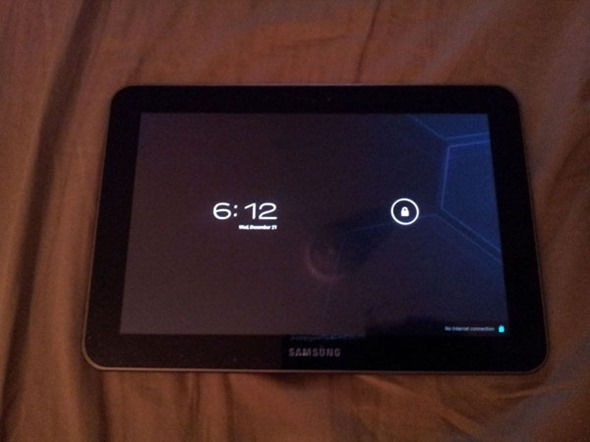
While we are still a few months away from seeing the official, stable release of Android 4.x Ice Cream Sandwich for Samsung’s Galaxy Tab 8.9, an unofficial, not-so-stable build of Android 4.0.3 ICS has been released. We’ve got the details and a easy-to-follow step-by-step guide after the jump!
News of the custom ROM comes straight from XDA-Developers – a popular forum for Android hackers, developers and enthusiasts – in the form of a thread posted under the Galaxy Tab 8.9 sub-forum where the developer discusses the state of the ROM and how to install it.
DISCLAIMER: Redmond Pie will not be held responsible if you lose data or your device gets damaged in the following of this guide. Proceed at your own risk.
This custom ROM is pretty buggy at the moment. Among other things, the camera, 3G, HD videos and voice search does not work at the moment.
Before you start, you must ensure that your Galaxy Tab 8.9 is rooted and that you have flashed ClockworkMod Recovery. Once you’ve met these pre-requisites, you may follow the guide!
Step 1: Download the following files:
- Android 4.0.3 ICS for Galaxy Tab 8.9 [MultiUpload]
- ICS Google Apps [MultiUpload]
Transfer the files directly under the /sdcard directory on your Galaxy Tab 8.9’s internal storage.
Step 2: From ROM Manager, tap Reboot to Recovery to boot into ClockworkMod Recovery. If this method doesn’t work, you must shut down your device and then press and hold a specific combination of buttons to boot into ClockworkMod.
Step 3: From ClockworkMod Recovery, select wipe data / factory reset. Then, from advanced, select wipe Dalvik cache as well as wipe cache.
Step 4: Now we will be flashing the ROM itself. Navigate to install zip from sdcard > choose zip from sdcard > icyxmas.p5wifi.cwm.alpha1.1.zip.
Once this is flashed, select flash icygappsv2.zip.
Step 5: From the main menu, select reboot system now.
If you followed the steps correctly, you will boot into Android 4.0.3 Ice Cream Sandwich on your Galaxy Tab 8.9.
Step 6: Download and install a CPU control app such as SetCPU, No-frills CPU control or Antuantu and set them to interactive governor.
If you have any queries, check out the official thread on XDA.
You may also like to check out:
- Download And Install Android 4.0.1 ICS On Galaxy Tab [How-To Tutorial]
- Install Android 4.0.3 Ice Cream Sandwich On Motorola XOOM [How-to Tutorial]
You can follow us on Twitter, add us to your circle on Google+ or like our Facebook page to keep yourself updated on all the latest from Microsoft, Google, Apple and the web.

