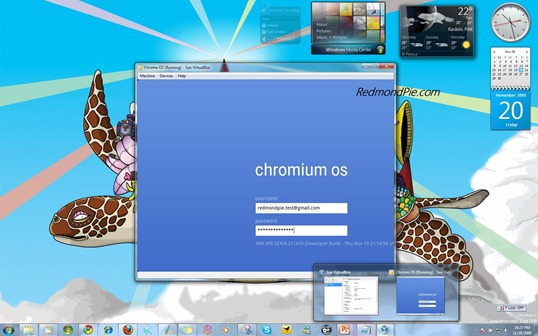
Google unveiled Chrome OS in an event yesterday where they demonstrated the upcoming cloud-based OS for the first time in public. Source code of Chrome OS was also released which folks over at gdgt have compiled in a ready-to-install .vmdk file. All you need now is a system running Windows, Linux or OS X with any of the virtualization software like VMware or VirtualBox installed to get Chrome OS running within minutes.
The following guide will help you install and run Google Chrome OS in VirtualBox under Windows 7. VMware Workstation can also be used to install and run Chrome OS VM in Windows 7.
Step 1: Download and install the latest version of VirtualBox for Windows 7. (download link is given below)
Step 2: Download .vmdk file for Google Chrome OS. (download link is given below)
Step 3: Start VirtualBox and click on “New” button. This will start a wizard that will help you create a new VM in VirtualBox.
Step 4: Name your VM “Chrome OS” and select “Linux” from Operating System dropdown menu, and “Other Linux” from Version dropdown menu.
Step 5: Assign your VM some Ram in megabytes. For this tutorial, I have allotted Chrome OS VM 512 MB of Ram.
Step 6: Now Select “use existing hard disk” option and select the .vmdk file of Chrome OS that you downloaded in Step 2.
That’s it! your final VM setup should look something like this:
Now simply click on the green colored “Start” button as seen in the screenshot above and wait for about 7 seconds for Chrome OS to boot up. You will need a valid Google ID to login into the operating system.
Feel free to ask me any question should you run into any problem in getting Chrome OS VM to work under Windows 7.
You can follow me on twitter or join our facebook fanpage to keep yourself updated on all the latest Google Chrome OS releases.
If you liked this, then you may also like to check out:
- How to Install Google Android OS on Windows 7
- Google Chrome OS Screenshots, Video Demo and Source Code
- Google Chrome OS Browser 4.0.222.6 Build 28902 Leaked
- Google announces Chrome OS and I’m not sold
Download Google Chrome OS .wmdk file
Download VirtualBox for Windows 7

