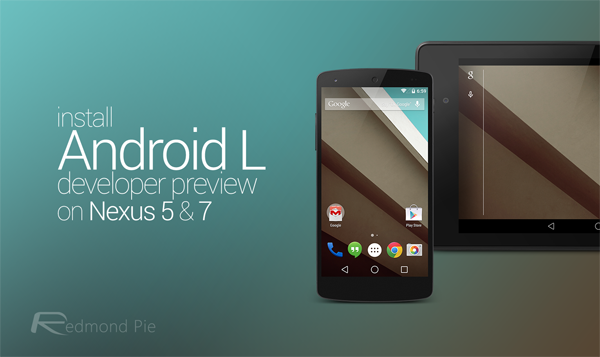
As promised, Google rolled out the Android L SDK on Thursday, and for those looking to flash the developer preview software onto their Nexus 7 (2013, Wi-Fi) or Nexus 5, the process isn’t actually all that arduous. Below, we’ve outlined all of the steps in one easy-to-follow, concise tutorial, so if you want to take a sneak peek at what Google’s been working on, join us after the fold.
As noted above, the preview of Android L is only currently compatible with the unlocked Nexus 5, or the 2013 Wi-Fi variant of the Nexus 7 tablet. As such, it will not work on the 2012 Nexus 7, nor the newer LTE variant, and if you attempt to install on any of these unlisted devices, you’re only setting yourself up for a factory restore.

Prerequisites
- Before you proceed, it’s important to back up any information you may wish to preserve. Check out our guide on how to completely backup your Android device on PC without root access.
- Download Android L developer preview for Nexus 5, 7.
- Android USB driver for Nexus 5 / 7 installed.
- A Windows PC, Mac or Linux computer with Android ADB & Fastboot configured. See our guide on how to set up Android ADB and Fastboot on Windows.
Without any further ado, then, let’s get straight into the guide.
Procedure
Step 1: Ensuring that USB Debugging Mode has been enabled in your device’s settings, connect your Nexus device to your computer.
Step 2: Download the Android SDK from developer.android.com/sdk/index.html, along with the Android L factory image specific to your device (linked above). At this point, you’ll want to manually install each and every one of the tools provided.
Step 3: Next, simultaneously hold the Power + Volume Down buttons until you’re met with a dark splash screen featuring various system information. This is known as Bootloader Mode.
Step 4: Connect your device with the computer using the provided micro USB cable.
Optional step: Verify that your computer can read the connected Nexus 5 or 7. You can use the fastboot devices command in Command Prompt for that, and if the result returns a serial number for the connected devices, you’re good to proceed.
Step 5: The Android L image that you originally downloaded will be a .tgz file. Extract the contents using 7Zip (preferable), and you’ll get a .tar file within. The trick here is to extract even this one, again, to get a folder with six individual files.
Step 6: Place these six files directly into platform-tools folder of the Android SDK (you may skip this if you set up ADB as an environment variable and can use it anywhere).
Step 7: Finally, you’re all set. Just ensure that your device is still connected via the USB cable in Bootloader mode, and double-click the flash-all.bat file from the ones that you just copied in the last step. Click on flash-all.sh if you’re using a Mac.
It is important to note that you’ll need to have bootloader unlocked on your Nexus 5. If you haven’t already simply run ‘fastboot oem unlock’ command in command prompt to unlock the bootloader on the device.
That’s all there is to it, really. Once the flashing process is complete and the device reboots, you’ll be welcomed by Android L in all its (preview) glory. It might not be exactly stellar at this point, but it’s still pretty cool to play around with. Oh, and if you get flashing errors, just redo the process and you should be fine. Mostly minor hiccups can be taken care of this way.
You can follow us on Twitter, add us to your circle on Google+ or like our Facebook page to keep yourself updated on all the latest from Microsoft, Google, Apple and the Web.
