Mac users are happy to accept the changes which Apple make and deem necessary in order to provide us with a great experience when using their hardware and software products. Deep down we don’t always agree with them, especially when upgrading from an older version of iOS or OS X, only to find one of your favorite features being removed, but we live it due to our faith and belief that the experts know what they are doing. On the other hand, some people can’t live with it. They see it as a company flexing their corporate muscle to force their will upon us.
Regardless of which of those categories you fall into, or even if you land somewhere in the middle, it’s always nice to know that in some cases the things that we miss in updated versions of software can be added back with relative ease. I’m pretty sure that now that I’ve mentioned this, there are going to be people hunting through OS X Mountain Lion to make sure their favorite small and intricate feature is still there, and I’m here to tell you that if you were a fan of the old Macintosh “Quack” sound, or one of the other various and fun noises which Mac OS X used to bring us, then the chances are; it no longer exists in OS X 10.8.


Fear not. All hope is not lost, after all this is 2012 and we are living in the digital age where pretty much anything is possible. If you long to set your Mac up to blurt out those rather unique, but ultimately annoying sounds then check out the simple steps below that show you how to download the relevant pack of AIFF tones and add them to your Mac.
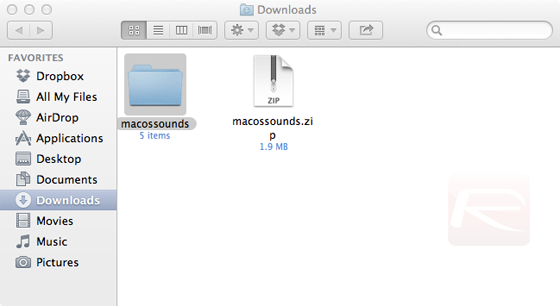
Step 1: Before we can even think about an installation process, we need something to install. Download the ZIP file from the source link at the end of this post (1.8MB compressed) containing the relevant Mac old-school sounds, and extract the contents into your Downloads folder or a directory you will remember.


Step 2: The next step is to get access to the mysterious ~/Library folder which Apple hides from us by default. There are a few ways to go about doing this, with the easiest being to open up an instance of Finder and click on the Go menu item while holding down Option key on the Mac. From this resulting menu, select the Library option to open up the directory.
Step 3: Search for the Sounds folder within the ~/Library directory and double click it. When inside, drag and drop the required sound files from the downloaded ZIP file into the folder.
Step 4: The sounds are now part of the OS X file system. Open up the System Preferences app and select the Sound option. Selecting the Sound Effects option will list all of the installed sound files under the Custom header.
So there we have it. An OS X Mountain Lion installation complete with the selected sound files of the old. Customize the Mac’s alerts at will and enjoy the trip down Mac nostalgia lane.
(via Gizmodo)
You can follow us on Twitter, add us to your circle on Google+ or like our Facebook page to keep yourself updated on all the latest from Microsoft, Google, Apple and the web.
