Android M Developer Preview is available to download now for Nexus 5, Nexus 6, Nexus 9 and Nexus Player. The following tutorial will help you install Android M on one of supported Nexus devices.
It is important to note that the current developer preview build of Android M is meant for testing purposes only and may not be stable enough to use as your daily driver. Backup your data before flashing it on your device.


Ready? Lets go!
How To Download & Install Android M:
Step 1: Download Android M Developer Preview from here and extract the contents of it to a folder on your desktop.
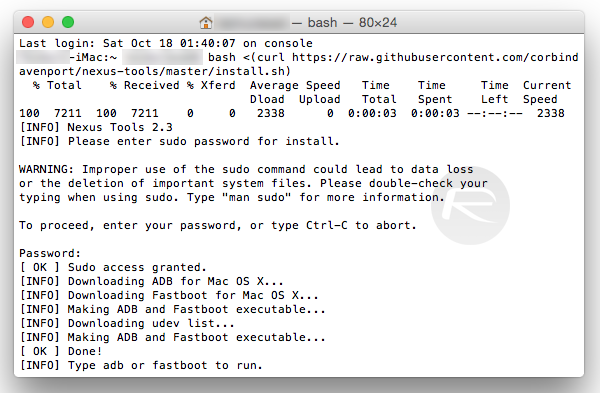
Step 2: You will now need to setup ADB and Fastboot on your Mac. If you already have this setup you can skip to next step. If not, open Terminal app and paste the following command:


bash <(curl https://raw.githubusercontent.com/corbindavenport/nexus-tools/master/install.sh)
This command will automatically install and setup ADB and Fastboot on your computer.
Step 3: Once done, navigate to System Preferences -> Keyboard -> Shortcuts and select Services.
Step 4: Check ‘New Terminal at Folder’ option as shown in the screenshot.
Step 5: You need to now start Terminal at folder. To do this, right click on the extracted folder of Android M that you downloaded in Step 1 and click on New Terminal at Folder option.
Step 6: Unlock the bootloader: If you already have a unlocked bootloader, skip to next step. If not, connect your device to computer via USB and type this command in the Terminal:
adb reboot bootloader
This will reboot your device into bootloader mode. Once in bootloader mode, type this command to unlock the bootloader.
fastboot oem unlock
Step 7: If your device already has bootloader unlocked, simply reboot the device in Fastboot mode by first completely turning off the device and then press and hold Volume Up, Volume Down and Power buttons simultaneously to start the device in Fastboot mode.
Step 8: Make sure the device is connected to your Mac via USB, type this command in Terminal to flash Android M image.
sudo ./flash-all.sh
Now just wait for few minutes for Android M flashing to complete. Once it’s complete, your Nexus device will reboot automatically to Android M welcome screen.
Let us know how the installation goes for you in the comments below.
You can follow us on Twitter, add us to your circle on Google+ or like our Facebook page to keep yourself updated on all the latest from Microsoft, Google, Apple and the web.
