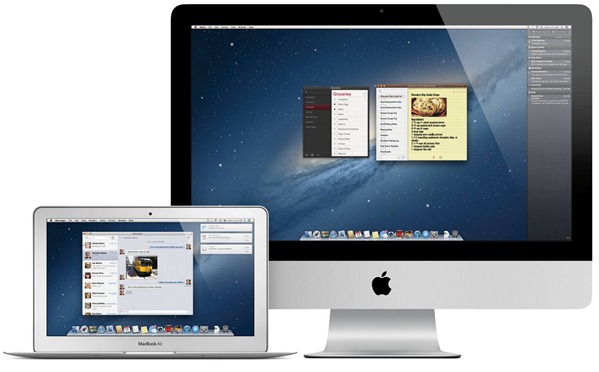
There is one big story in Mac software right now, and that’s OS X 10.8, Mountain Lion. Available for less then twenty dollars via the Mac App Store, the update to Mountain Lion is all geared around building on top of your current, working system. If you’re like us though, you probably like to have a nice clean install of your operating system every once in a while, but the Mac App Store doesn’t always make that the easiest thing in the world.
Thankfully, assuming you’ve got a USB stick large enough to fit Mountain Lion’s installation file on – that’s any 8GB stick or above – then you’re in luck, because getting a clean install of Mountain Lion on your Mac is easier than you may think.

In fact, getting Mountain Lion onto a clean Mac hard disk is so easy it can be done in eleven, easy steps, and one of those is barely a step at all!
So, let’s get started:
Step 1: Download OS X Mountain Lion via the Mac App Store as usual, but do not begin the installation process.
Step 2: Follow our handy dandy guide and create a Mountain Lion installation USB stick. You’ll be needing to follow this step because you’ll be wiping your hard disk soon.
Step 3: Back up everything, or at least anything that you don’t want to lose. Make a Time Machine backup if you have a Time Capsule, or just simply copy your important documents, photos, video etc. to an external drive. When you’re done at the end of this process everything will be gone, so don’t run the risk of wishing you’d backed up later!
Step 4: Restart you Mac with your Mountain Lion USB plugged – which you created in step 2 – in and press/hold the Option key during the boot screen and select the Mountain Lion USB drive as shown in the screenshot below.

Step 5: Fire up Disk Utility, which lives under the OS X Utilities menu item.

Step 6: Select your Mac’s internal hard disk from the pane on the left. This is usually called ‘Macintosh HD’.
Step 7: On the right, select the Erase tab, followed by selecting "Mac OS Extended (Journaled)” as Format for the drive. Click the “Erase…” button to format the drive.

Step 8: Close Disk Utility and and from the OS X Utilities menu select ‘Reinstall OS X’ as shown in the screenshot below.

Step 9: Select the disk drive that you just erased as the destination for your new Mountain Lion installation and click on Install. Follow on-screen instructions.


Step 10: Follow the on-screen instructions to set iCloud up and create any other accounts that may be required.
Step 11: Rejoice.
Simple, right? By the time you get to step number eleven you’ll have a completely fresh, clean installation of Mountain Lion ready for you to begin reinstalling your apps.

There’s something awesome about a clean Mac, isn’t there?
You may also like to check out:
You can follow us on Twitter, add us to your circle on Google+ or like our Facebook page to keep yourself updated on all the latest from Microsoft, Google, Apple and the web.

