Here’s how to delete or deactivate your Apple ID account personal and activity data, if and when needed.
Thanks in part to a set of new GDPR regulations which are being brought into practice on May 25th, 2018, Apple has launched a new Data and Privacy website that affords Apple account holders with a new set of functionality allowing them to better manage the information which the company holds.

Within this new page, Apple also gives users the ability to either entirely delete an Apple ID and all of its associated data or to temporarily deactivate the account and take a break from Apple and its services. We’ve provided a step-by-step guide on the process below but make sure that you read all associated content on Apple’s website as it clearly outlines what will be deleted and informs of the consequences of such actions.
Step 1: Get yourself in front of a computer on a Windows or macOS-based computer, or even on an iPad, and navigate to privacy.apple.com in the web browser. If you try and do this from an iPhone you won’t be able to complete the process.
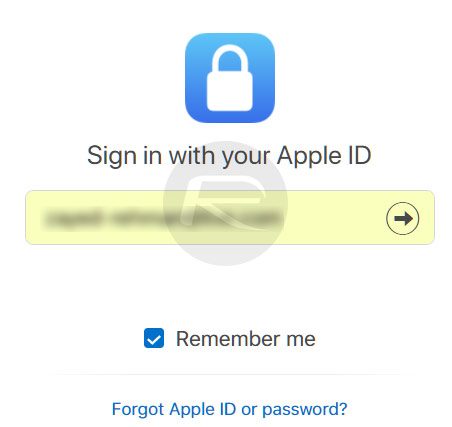
Step 2: Enter your existing Apple ID and password where prompted. If you have two-factor authentication enabled, or if you have any security questions on the account, and you are prompted to answer them, then do so to proceed.

Step 3: When you are taken to the Apple ID & Privacy page, select Continue to proceed after you have read all of the enclosed information. You should see an option titled Delete your account. Click the Get started button to begin.

Step 4: From the drop-down menu, select a reason for the deletion and select Continue to proceed. Apple will then give you a list of important things that you need to know prior to activating the requested deletion. Read this list and select Continue when ready.
Step 5: You will then be given Apple’s Deletion Terms & Conditions. Review these thoroughly before clicking to put a check in the box to confirm that you have read and accepted them. Select Continue.
Step 6: You now need to choose how you want to receive status updates on the process. Choose your preferred option by clicking on the radio button and then select Continue. You will then be given a unique access code generated by Apple. You need to make sure that you make a copy of this and keep it safe. Select Continue, again.
Step 7: Enter the access code that you were provided. This shows that you have made a copy of it. Select Continue. You will then need to review a list of reminders that show you exactly what happens when an account is deleted. Select Delete account if you wish to proceed.
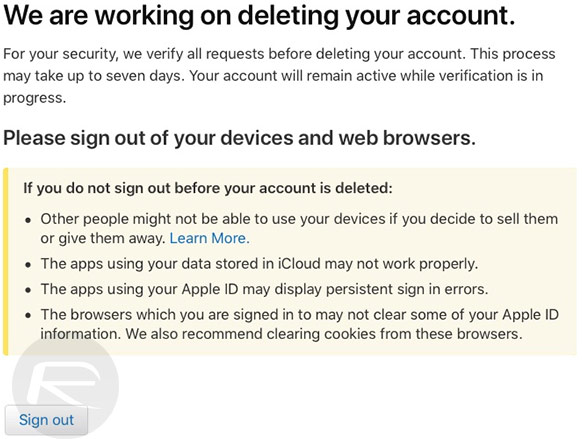
Step 8: You will then be informed that Apple is working on deleting your account. Make sure that you Sign Out on all devices using that Apple ID before it’s deleted.

NOTE: If you aren’t exactly sure that you want to entirely delete your account and all of its data, but would prefer to simply apply for a temporary deactivation, then you can do that by selecting the Get started option under the Deactivate my account heading rather than choosing to delete your account.
Update:
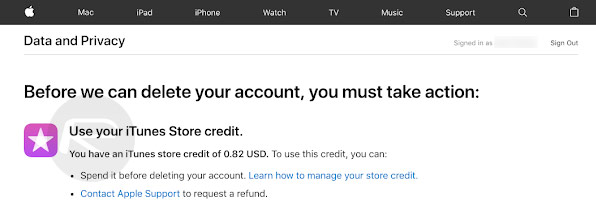
Before you can delete your account, there are a couple of steps which Apple would require you to complete before it actually deletes your account. For example, if there is unused iTunes Store credit, you will be required to consume it completely to proceed, as seen in the screenshot below:

Thank you Jack for the tip!
You may also like to check out:
- Free iPhone Personal Hotspot Tethering Without Jailbreak Or Ad Hoc Internet Sharing: Yes It’s Possible Now
- Download Copy Of Your Apple ID Account Data, Here’s How
- iOS 11.3.1 Jailbreak Project Moon Demoed On Video
- PUBG Mobile 0.6.3 APK Beta Update Rolls Out Featuring FPS Mode And More In China
- Download iOS 11.4 Beta 6 IPSW Links And OTA Update [Testers Only]
- Jailbreak iOS 11.3 / 11.3.1 / 11.2.6 On iPhone And iPad [Status Update]
- Download iOS 11.3.1 IPSW Links, OTA Update With Fix For Third-Party Screen Repair Issue
You can follow us on Twitter, add us to your circle on Google+ or like our Facebook page to keep yourself updated on all the latest from Microsoft, Google, Apple and the Web.

