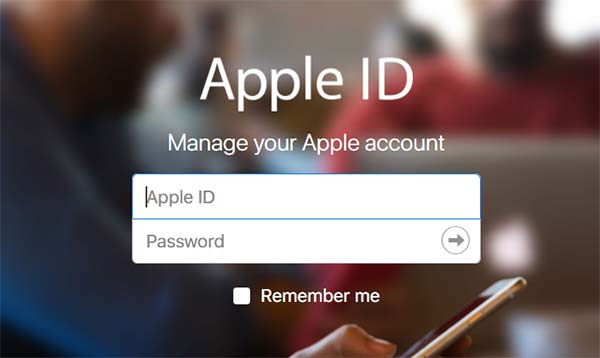
Here’s how you can change or switch an Apple ID with third-party email address to an Apple email address.
A newly updated Apple Support Document gives information on the Apple ID change process, including confirmation that if you are currently using a third-party email address, such as one with a @gmail.com extension, then it can now be changed easily to an Apple one such as @icloud.com, @me.com or @mac.com.

This was previously not possible with Apple only allowing Apple IDs with third-party email addresses to be updated to another third-party email address but not Apple’s own email address until today. Here’s how you can go about making this change to your Apple ID in case you are using a third-party email address.
Changing via an iOS device:
Step 1: First of all, make sure you sign out of the Apple ID on all devices that are currently signed in with that account apart from the device that you are using to run through this process. Launch the native Settings app and then tap on the top cell which should show your name and the sub-title “Apple ID, iCloud, iTunes & App Store.“
Step 2: Select the first entry in the tabled list of options which will be Name, Phone Numbers, Email. This will show some network activity and may take a few seconds to load.
Step 3: The second section down will be titled Reachable At – this could be Contactable At depending on the location of your device – select the Edit button to the right of that header. Delete the current Apple ID using the new delete button that has appeared.
Step 4: Select the Continue button and then enter the email that you actually want to use. This could be one of Apple’s @iCloud, @mac, or @me accounts. Select the Next button to confirm the change.
Changing via Apple ID account page:
Step 1: Launch your favorite browser, either on desktop or mobile, and head on over to appleid.apple.com. This will ask you to sign in with your Apple ID account credentials to proceed.
Step 2: Locate the main Account section and choose the Edit button. You will then see a section dedicated to your Apple ID. Select the Change Apple ID option.
Step 3: As before, enter the relevant change to the Apple ID and then select the Continue option to confirm that change. Once everything has been saved successfully you should be prompted with a success message.
And there you have it. A relatively simple process regardless of the route you take. Just make sure that you are sure of the change as the previous third-party email address will be saved on the account as a secondary email but you won’t be able to change it back.
You may also like to check out:
- iOS 11.1 Release Notes, Changelog: All New Changes For Your iPhone Or iPad
- Download iOS 11.1 IPSW Links And OTA Update Of Final Version
- Download iOS 11.2 Beta 1 OTA Via Configuration Profile File Without Developer Account
- Download iOS 11.2 Beta 1 IPSW Links And OTA Update For Your iPhone And iPad
- Downgrade iOS 11 / 11.1 On iPhone Or iPad [How-To Guide]
- Download iOS 11, 11.1, 11.0.3 Links & Install On iPhone X, 8, 7 Plus, 6s, 6, SE, iPad, iPod [Tutorial]
- Jailbreak iOS 11 / 11.1 / 11.0.3 On iPhone And iPad [Status Update]
You can follow us on Twitter, add us to your circle on Google+ or like our Facebook page to keep yourself updated on all the latest from Microsoft, Google, Apple and the Web.
