If you’ve been having some troubles with the iOS 7 auto-brightness feature, then you’ll be relieved to learn that you’re not alone. As many users have discovered, the back light of display doesn’t always properly adjust, but if you were wondering if there was a way to fix this nagging issue, then check the remedial tutorial below.
Auto-brightness feature is supposed to adjust your device’s brightness depending on your environment. So if, for example, you’re in a dark room, you’ll naturally better able to see the display, and thus, auto-brightness kicks in and reduces the brightness. This practical little feature not only makes it easier on your eyes, but it saves you some potentially precious droplets of battery, but like all useful technologies, it’s only when it works.

As some iPhone and iPad users have found, auto-brightness can behave erratically, but you can put a stop to this by following a couple of small steps to reconfigure the feature. Thankfully, it only takes a couple of seconds to carry out, and once auto-brightness has essentially reset, it should be firing on all cylinders once more.
Before we get started, you will need to find a dark spot in order to properly recalibrate auto-brightness, so either shut your blinds / curtains, or find yourself a closet.
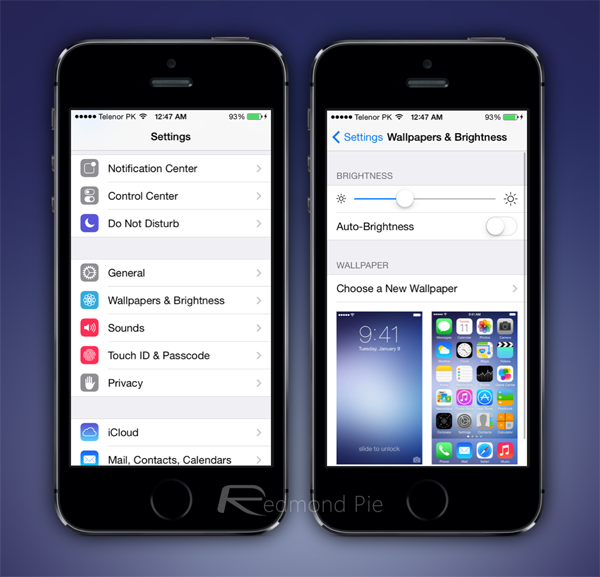
Step 1: Fire up your iOS 7 Settings app from the home screen.
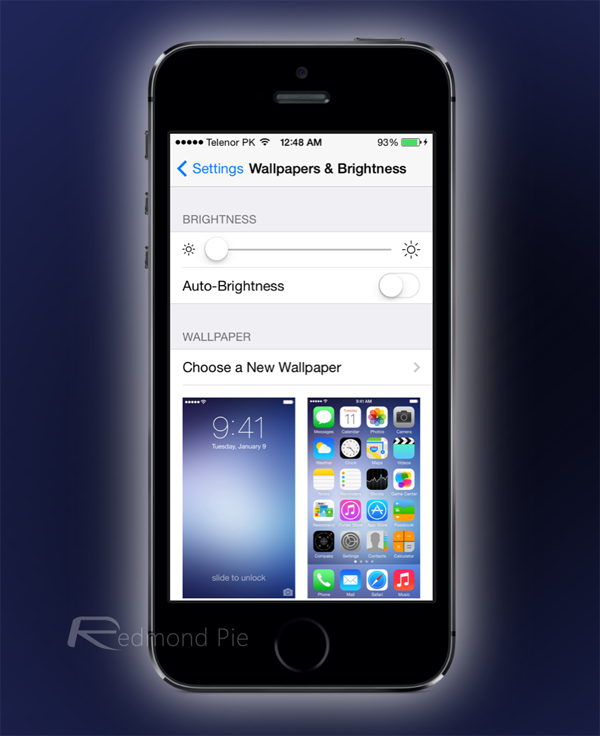
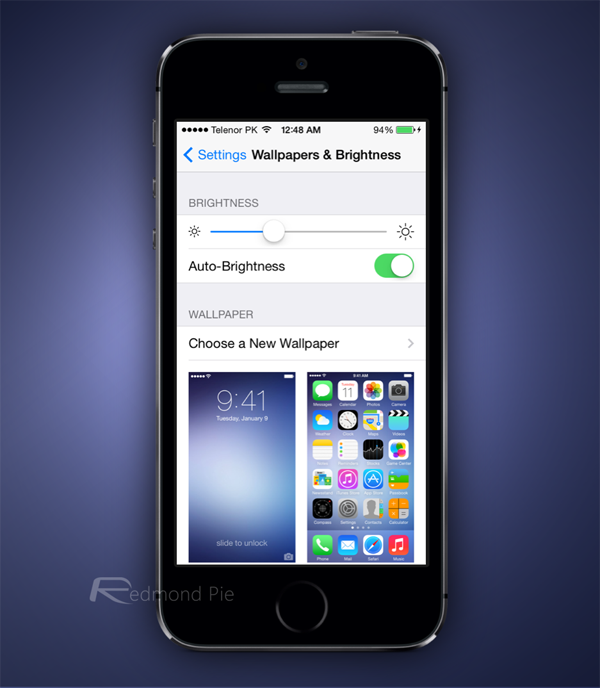
Step 2: Navigate to Brightness & Wallpaper, and toggle off the Auto-Brightness feature.

Step 3: Slide the brightness down to the minimum when in a dark room.

Step 4: Finally, toggle Auto-Brightness back on, and everything should be fully operational once more.

You may need to repeat these steps in the near future to retain auto-brightness’s efficiency, but if you’ve been having some trouble with it, here’s to hoping that the above steps sort you out.
The light sensors that make auto-brightness possible are very useful, but if you want to get the best out of them, you must do a little house-keeping from time to time. If auto-brightness hasn’t been performing at its optimal level, give it a shot, and whether it works out for you or not, be sure to leave your comments via the usual mediums below!
You may also like to check out:
You can follow us on Twitter, add us to your circle on Google+ or like our Facebook page to keep yourself updated on all the latest from Microsoft, Google, Apple and the Web.

