If you’re a regular reader here at Redmond Pie, you will be fully aware of the many different jailbreak apps and tweaks we feature which take the jailbroken experience that extra mile.

Most, if not all the time, such apps can be found on repositories- the online hubs which store them for quick and easy access and installation. The BigBoss repo, for example, is where one can find the majority of the tweaks available, and everything is conveniently listed and easy to navigate.
The problem with some of the larger repositories is that many are overly cluttered with garbage apps which just make browsing that tad bit tedious. Consequently, there are many small repositories which contain some of the key apps, as well as some which cover specific niches.
Creating your own repo is a great way to keep a nice collection of the apps specific to you and your friends and/or online buddies (which nowadays tend to one in the same). While sharing Cydia apps is relatively straightforward, some are rather bulky and don’t for example comply with the allotted attachment e-mail space. But how repositories are made? In line with the current trend sweeping humanity, there’s an app for that!
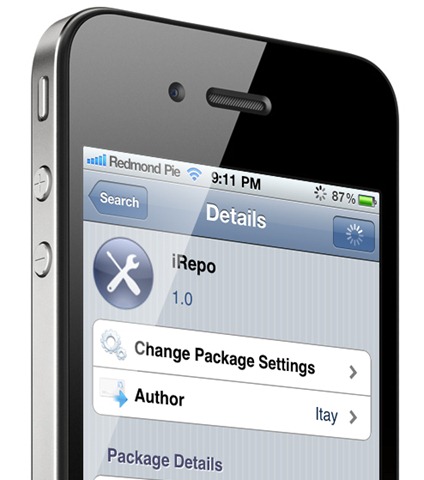
It comes in the form of iRepo, and creates an easy way for you to set up a repo and host your own .debs from the comfort of your iDevice. It’s not too difficult to set up, and for your convenience, we have written a simple step-by-step to get you on your feet.
Step 1: Purchase the iRepo from Cydia, from the BigBoss repository. It costs 99 cents for a limited time before the price hikes, so get it while it’s hot.
Step 2: Respring your device. If you’ve SBSettings, you’ll know what to do. If not, then you will need to reboot your device.
Step 3: Open up iRepo. Unlike the majority of jailbreak apps, this one does have a Springboard icon. Click on it and you will be met with the configuration settings.
Step 4: Think of an appropriate name for your repo, a label, description, codename (if you so wish), and a short description of its contents. You can also add a password if you want to keep access secure.
Step 5: Hit Save, shuffle over to Status and tap Enable Repo and there you have it – your very own repo is officially online. All you need to do now is fill it with some packages. You can use one of the many desktop apps such as DiskAid or iFunBox to ssh .deb files into the pathway under the “packages” option. Additionally, if you want to add files while on-the-go, you can go ahead and use iFile in order to begin adding content.
In order to create your own repository in this way, you will of course need a jailbroken iPhone or iPad. You can follow our step by step guide posted here to jailbreak your iPhone, iPad or iPod touch on iOS 4.3.5 using Redsn0w (or PwnageTool), or on iOS 4.3.3 using Redsn0w, PwnageTool, Sn0wbreeze & JailbreakMe (that last one being the easiest).
Check out our iPhone Apps Gallery and iPad Apps Gallery to explore more apps for your iPhone, iPad and iPod touch.
You can follow us on Twitter or join our Facebook fanpage to keep yourself updated on all the latest from Microsoft, Google and Apple.

