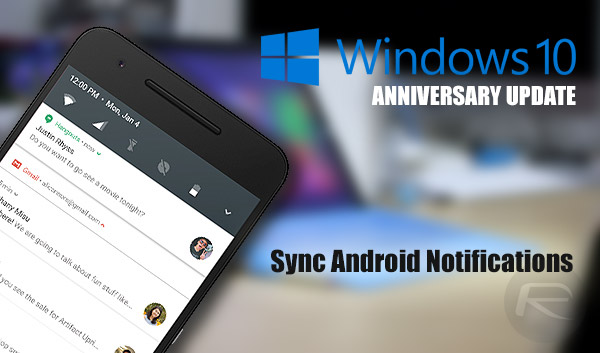
Here’s a guide on how to enable your Android phone to push notifications to a Windows 10 Anniversary Update (or later)-running PC.
Microsoft’s Windows 10 Anniversary Update has brought with it a number of new features. One of those features is being able to easily synchronize push notifications from an Android device (phone or tablet) directly to a Windows 10 running PC. This has not been possible natively on Windows prior to the Anniversary Update. Here we’re going to take a quick look at how you can get this feature up and running both on your Android device and your Windows 10 PC.

Note: This guide assumes you already have Anniversary Update or later installed on your Windows 10 PC.
Step 1: First and foremost, if for whatever reason you have Cortana disabled on your Windows 10 installation, then you’re going to need to re-enable it. That is literally the only PC-side requirement and work that you need to do in order to get this working. It’s paramount that Cortana is enabled on the Windows 10 PC where you want to get push notifications from your Android phone or tablet to show up. If you don’t know how to enable Cortana on Windows, then you can follow our detailed instructions on it here. Come back when you have Cortana enabled and working on your computer.
Step 2: Now, on your Android device, head on over to the Google Play Store and install Microsoft’s Cortana app for Android. This app is available to download from Microsoft for free on the Play Store.
Step 3: You should now have Cortana enabled on the Windows 10 machine, and Cortana app for Android installed on your smartphone or tablet. Next, head over to the dedicated Windows Insider Program website at insider.windows.com and sign up for it using the same Microsoft Account ID you are using on your computer as well as the Cortana app on Android. According to the Cortana app’s description, you must be registered on Insider Program for it to work.
Step 4: Launch Cortana on the Android device and make sure that you accept all of the necessary permissions that it asks for – location and media access to be precise. Login into the Cortana app using the exact same Microsoft Account ID that you are using to login to your Windows PC. And yes, before you ask, you actually need to be using a Microsoft Account rather than a local Windows account for logging into your PC as this is what the system uses to synchronize notifications.
Step 5: Access the Cortana menu on Android by tapping the three horizontal lines (also known as hamburger menu) on the top left-hand corner of the interface. Next, tap Settings followed by Sync notifications to proceed.
Step 6: Within the Sync notifications option, you will notice a number of toggles assigned to entries. Some of these are on by default, and the bottom one, *App notifications sync, is off by default. Turn this, and all others, to on to get the most out of this feature. Before you can fully turn App notifications sync on, you’ll need to grant notifications access to Cortana via the resulting popup notification by pressing the Got it button.
Step 7: Slide the toggle for Cortana to the on position and then confirm when Android asks you if you wish to enable notifications access for Cortana from the alert, as shown in the screenshot below.
Step 8: Head back into Settings > Sync notifications and enable App notifications sync again, and then individually select which apps you want to have notifications from your Android phone to display on the Windows 10 PC by tapping *Choose which apps to sync option.
That’s it, all notifications for the apps you’ve granted access to from the phone will now be displayed on your PC’s desktop, complete with the option to quickly reply back as well from the Action Center.
You may also like to check out:
- Windows 10 Product Key And Activation: How To Find It And How It Works
- Download Windows 10 Pro ISO File Without Product Key From Microsoft
- Enable Dark Theme Mode In Windows 10 Anniversary Update [How-To Guide]
- Install / Enable Bash On Ubuntu On Windows 10 Anniversary Update, Here’s How
- Windows 10 Connect App: How To Cast Android Display Wirelessly To Your PC
You can follow us on Twitter, add us to your circle on Google+ or like our Facebook page to keep yourself updated on all the latest from Microsoft, Google, Apple and the Web.
