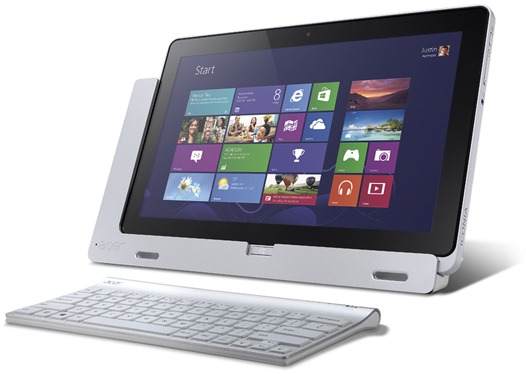
Dual booting operating systems on mobile devices can be an exciting experience, and although Windows 8 usually restricted to tablets vetted officially by Microsoft, it doesn’t always have to be this way. The folks of XDA-Developers have found a way to dual boot Android and Windows 8 on the Acer Iconia W700, and although it’s by no means a seamless experience, it does offer a little variation to those of a very tech-orientated nature.
Ironically, the W700 is something of a happy median between tablet and ultrabook, rendering it the perfect candidate for this type of modification. The line between the two markets has been blurred recently with the introduction of devices such as the Microsoft Surface, and although the market has yet to fall into the lap of the hybrid theory, manufacturers are continuing to amalgamate these two significant fields within the technology industry.

Windows 8 is an infinitely powerful OS, offering endless possibilities when compared with Android, and if you feel like dual booting your Iconia W700, check out the tutorial below.
Please note, Redmond Pie takes no responsibility for any damage incurred to your device as a result of following this tutorial. The steps are provided for information purposes only; proceed at your own risk.
Before you start, you will need a USB Stick with 512 MB storage or more, a USB keyboard, a USB-hub, the latest image Generic UEFI Installer image which you can grab from: 01.org/android-ia/downloads and also, the Image Writer Tool, which can be found at this link: launchpad.net/win32-image-writer/
Step 1: First off, you will need to set up a bootable USB. Download the Image Writer Tool, extract the ”Win32DiskImager.exe,” and once that’s done, find the .img file you downloaded previously and hit “Write.”
Step 2: Once the process has completed, your USB has been adequately prepared for booting.
Step 3: Next, we’ll be setting up the tablet to read and boot from the USB. Press and hold the Power and Windows button to enter BIOS Settings, and ensure UEFI boot modus is selected.
Step 4: Switch your tablet off, insert your USB-hub with USB Stick and Keyboard connected, and power on your device whilst holding F12.
Step 5: Select your USB device from the boot menu, and select your preferred option from the following menu. Follow the on-screen options to set up dual-boot mode, size allocated to Android etc. The installation process will then begin automatically.
Step 6: After that, unplug and power down your device. When you power it back up, you’ll see your dual-boot menu. Congratulations – you’re good to go!

(Source: XDA-Developers forum thread)
You can follow us on Twitter, add us to your circle on Google+ or like our Facebook page to keep yourself updated on all the latest from Microsoft, Google, Apple and the Web.

