If you bought a Windows 7 laptop or PC post-June 2012, Microsoft had this great offer for you, whereby offering an upgrade to Windows 8 Pro at a much discounted price. While the offer was great and gained popularity with a large user base, there was a catch – you didn’t get an installation disc or an ISO that you can re-use, for that matter. With Windows 8, Microsoft took a different approach, whereby eliminating the need for an installation disk, since you can “reset” your PC from within the settings to bring it back to its factory state without much hassle.
Microsoft’s good intentions aside, we don’t exist in a perfect world, and computer systems tend to become corrupted or faulty from time to time. There would always be need for a fresh installation of the Windows operating system, and for that, an ISO can come in real handy. Luckily, while you may not have an installation disc, Microsoft has made it possible to download the Window 8 ISO directory from the Redmond company, and in this post, we’ll guide you through how.
Before we begin, please be advised that for this method to work, you need a genuine Windows 8 license key – the installer that we’ll use will prompt for that during the installation process. Also, these instructions are based assuming that you’re using a Windows 8 system – any previous version might have differences.
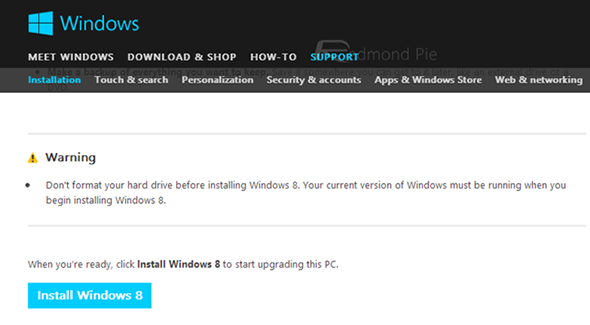
Step 1: Go to the official Microsoft Windows 8 Upgrade page, and locate the Install Windows 8 button. Click that to initiate the Windows 8 setup utility.
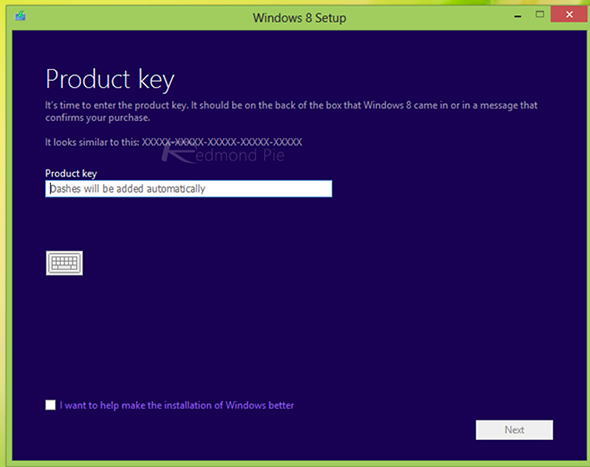
Step 2: Windows 8 Setup will prompt for a license key. Provide your original Windows 8 license.
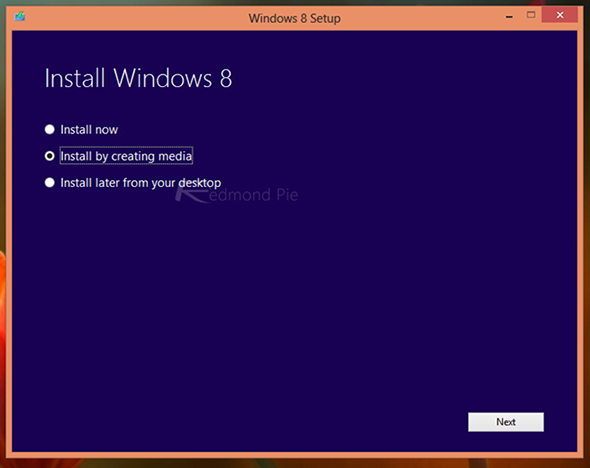
Step 3: From here on, it’s a time taking process where the installer will download the installation files (about 3 GB of data). Once that’s done and the files are ready to be processed, the Setup utility will ask how you want to install Windows 8. Select “Install by creating media”.
Step 4: For the next step, choose ISO file as the media type, and continue. Choose the location that you want to save the ISO file to, and let the setup generate the installation media for you.
That’s it – you now have your Windows 8 installation ISO file ready to be burnt to a bootable DVD disc or USB, right from Microsoft. That’s easy, isn’t it?
You can also follow our guide on how to make Windows 8 Bootable USB Flash Drive the easy way.
It’s worth noting at this point that if you follow these steps on a 32-bit Windows 8 installation, the resulting ISO would be 32-bit as well. Vice versa holds true for 64-bit versions of Windows 8.
You can follow us on Twitter, add us to your circle on Google+ or like our Facebook page to keep yourself updated on all the latest from Microsoft, Google, Apple and the web.


