Here’s how you can download macOS 10.13 High Sierra and install the right way through Apple’s Public Beta Software Program.
The initial macOS 10.13 High Sierra build was seeded to registered developers immediately after the opening keynote of this year’s WWDC. Apple has now extended that availability to those who are already registered, or who are looking to register with the Apple Beta Software Program, meaning that every Mac owner out there can now get involved in the important macOS High Sierra testing phase.

Before we get started, it is important to note that you should ideally back up all your important data to an external hard drive or flash drive. Also, you may want to check out if your Mac is compatible with macOS 10.13 High Sierra from here: macOS 10.13 High Sierra Compatibility: Full List Of Macs Compatible With Apple’s Latest Desktop OS. It’s also important to note that High Sierra will upgrade the file system of your Mac from HFS+ to APFS (Apple File System). The process is automated and you won’t have to do anything at your end but it’s still something worth noting before going ahead with the upgrade. Ready? Let’s proceed.
Step 1: You’re going to need to actually register for the Apple Beta Software Program before you can get involved in it. Open up your browser of choice and navigate to beta.apple.com to get access to the portal.
Step 2: As with most programs of this nature, if you are already registered then you will need to sign in using the relevant Apple credentials. If not, then you will need to go through the registration process by selecting the sign-up option.

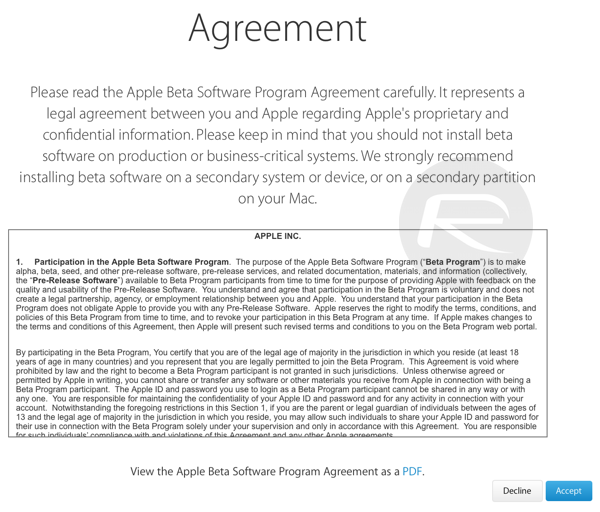
Step 3: Once you have signed in or signed up, you will be asked to accept the terms and conditions associated with the program. You’ll need to do this to continue. Click on Accept to progress.

Step 4: You should now be in a position to enroll your Mac into the program to receive the public beta builds. Select the Enroll Your Devices option at the top of the site.

Step 5: Make sure that the macOS tab is selected before clicking the Redeem Code button. This will instantly invoke the Mac App Store where you will be presented with an alert saying that You’ve successfully redeemed your code.
Step 6: The Mac App Store will then kick into action and provide you with access to the macOS High Sierra installer, which will start to download to the machine. As with any other application download, you will be presented with a continuously updated UI which will inform of the download progress.
Step 7: Once the installer has been downloaded, it is then a case of going through the usual process and actually invoking that file to begin the installation process. This will install macOS 10.13 High Sierra over the top of your current macOS installation, and instantly give you access to all of the new features and refinements included in the platform.
This is actually the only time that you will need to put in some legwork during the pre-release process. Going forward, Apple will send updates via the Mac App Store which will be offered as an over-the-air update for those who already have a beta version of High Sierra installed.
You may also like to check out:
- How To Downgrade iOS 11 Beta To iOS 10.3.2 / 10.3.3 [Tutorial]
- Download iOS 11 Public Beta 1 And Install The Right Way, Here’s How
- Download: iOS 11 Beta 2 15A5304j Update 1 IPSW Links For iPhone, iPad, iPod touch Released
- Download iOS 11 Beta 2 & Install On iPhone 7, 7 Plus, 6s, 6, SE, 5s, iPad, iPod [Tutorial]
- Download iOS 11 Beta 2 OTA Configuration Profile Without UDID / Developer Account [How-To Tutorial]
You can follow us on Twitter, add us to your circle on Google+ or like our Facebook page to keep yourself updated on all the latest from Microsoft, Google, Apple and the Web.

