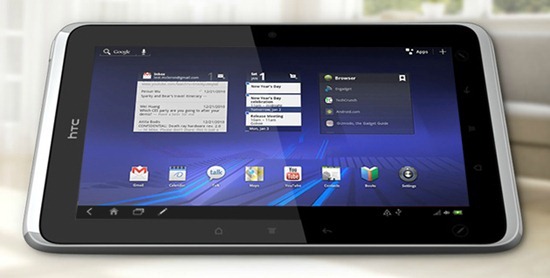
While, originally, the HTC Flyer was released with Android 2.3 “Gingerbread”, an Android 3.2 “Honeycomb” ROM was leaked recently which, thanks to the crafty Android dev community, has been made available for the Flyer.

From Modaco Forums:
- This process is recommended for experts only!
- This guide is only tested on a Euro WWE 32GB 3G Flyer – it may work on other configurations, but this is untested (i’d advise reading the topic to see if anyone has experimented with your configuration!)
- Anything you do from this point forward is at your own risk – my Flyer works and i’ve resurrected a couple of others, but I take no responsibility if it all goes horribly wrong. You COULD brick your tablet
- Do NOT under any circumstances run the RUU in it’s entirety nor ‘fastboot flash rom.zip’ – this will make irreversible changes that you don’t want!
- Be careful if you flash any RUUs or do anything that could revert you to S-ON on a broken system – this could leave you stuck
This method has only been tested on 32GB 3G HTC Flyer. It will probably not work on other variants of the Flyer.
How To Install Android 3.2 “Honeycomb” On HTC Flyer
If you’re interested in following the guide, be our guest! However, be warned, this is not your standard procedure. It involves over ten steps and there is a lot that could go wrong. Proceed only if you understand the risks involved and are mentally prepared for the worst, if things do actually go wrong. Redmond Pie is not to be held responsible for any loss of data or malfunctioning of your HTC Flyer as a result of following this guide.
Step 1: You will first need to download a bunch of files:
- The 2.00.405.3 RUU for HTC Flyer [FileSonic Link]
- Honeycomb System image for ClockworkMod recovery [FileSonic Link]
- Honeycomb Radio image [FileSonic Link]
- Honeycomb boot image [FileSonic Link]
- HBOOT [FileSonic Link]
You must ensure that the MD5 hash on your downloaded file is the same as the one’s posted here.
Step 2: Unlock your HTC Flyer’s bootloader using Revolutionary.
Step 3: Use ADB on your computer to return to fastboot using the following command
adb reboot bootloader
Step 4: Flash the HTC Flyer’s radio with the Honeycomb radio you downloaded in Step 1 using fastboot command:
fastboot flash radio stock-hc-flyer-radio.img
Step 5: Flash your device’s boot image with the Honeycomb boot image you downloaded in Step 1 using the fastboot command:
fastboot flash boot stock-hc-flyer-boot.img
Step 6: Boot into ClockworkMod Recovery and navigate to bootloader > recovery and run the following ADB commands from your computers:
adb push stock-hc-flyer-hboot_1.11.0006.nb0 / && adb shell dd if=/stock-hc-flyer-hboot_1.11.0006.nb0 of=/dev/block/mmcblk0p18
Step 7: Reboot into the updated bootloader using ADB command:
adb reboot bootloader
Step 8: In this state, you must unlock the HTC Flyer’s locked bootloader using HTC’s bootloader unlocking process. This is itself a lengthy process, but if you’ve come along so far, you’ll have to follow through. Go to HTC’s dev website and follow the instructions. Although Flyer isn’t listed, Modaco has stated that it works.
Step 9: Now you must flash your device’s recovery with the recovery you downloaded in step 1. Use the fastboot command:
fastboot flash recovery revolutionary-cwm-4.0.1.4-flyer.newhboot.img
Step 10: Boot into ClockworkMod Recovery. Navigate to bootloader > recovery and flash the Honeycomb system image using ADB command:
adb shell mount /sdcard && adb push stock-hc-flyer-system.zip /sdcard/
Step 11: From ClockworkMod Recovery’s main menu, navigate to wipe data/factory reset to do as it says and then navigate to advanced > wipe dalvik cache to delete dalvik cache.
Step 12: Reboot!
If you followed the steps correctly, your Flyer will now have Honeycomb installed.
You can follow us on Twitter or join our Facebook fanpage to keep yourself updated on all the latest from Microsoft, Google, Apple and the web.
