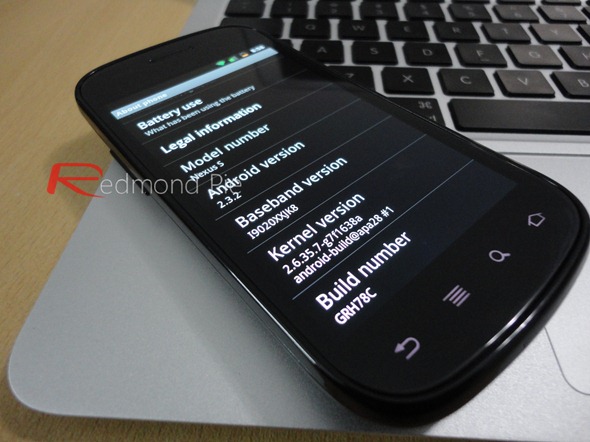
It looks like Google has started rolling out Android 2.3.2 OTA (Over-The-Air) update for Google Nexus S users. The update is officially marked as Android 2.3.2 Build GRH78C and it is just 600KB in size. While we are not sure about the full official change log yet, but what we know is that it has fixed that nasty SMS bug which used to send text messages to wrong contacts.
If you haven’t got the OTA update notification yet, you can install it manually by following the instructions posted below.
Step 1: Download the official Android 2.3.2 update for Nexus S from here.
Step 2: Copy this file to the root of your SD card. (Nexus S users no longer need to change the file name to update.zip)
Step 3: Now power off your phone, hold down the “Volume Up” button, followed by the “Power” button to turn it back on.
Step 4: Now use the volume rocker buttons to navigate to “Recovery” option and then select it using “Power” button.
Step 5: Now when you see an exclamation mark –like image on the screen, hold down the “Power” button followed by “Volume Up” button.
Step 6: At this stage you should be presented with Android’s Recovery menu. Now select the option to apply the update from SD card, followed by selecting the actual update “.zip” file using the “Power” button.
Step 7: That’s it. Wait for the phone to complete the update process. Once its done, select “reboot system now” option to reboot your phone into Android 2.3.2 Gingerbread.
You may also like to check out:
You can follow us on Twitter or join our Facebook fanpage to keep yourself updated on all the latest from Microsoft, Google and Apple.

