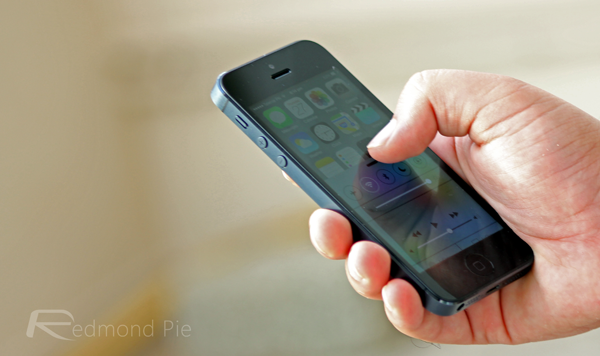
Here’s how to downgrade iOS 10.3.3 to iOS 8.4.1 without SHSH blobs on iPhone 5 (and maybe some other devices) for performance and speed boost.
The world of jailbreaking can be a complicated one at the best of times, but when you start to include older devices in the mix, along with older versions of iOS, things really start to get murky. For example, what would you say if we told you that anyone running a jailbroken version of iOS 10 on an iPhone 5 can now downgrade to iOS 8.4.1 with relative ease without SHSH blobs? You’d probably ask why they’d bother, right? Well, turns out there are actually reasons to do exactly that.

First off, performance increases from dropping back to iOS 8.4.1 from iOS 10.3.x on an old 32-bit device like iPhone 5 should not be underestimated. The iPhone 5 is no spring chicken, and as we all know, each new version of iOS does tend to make older hardware perform less optimally. So there is that. There is also the fact that with the iPhone 5 being a 32-bit device, iOS 10.3.3 is the last firmware version available for it, which is jailbreakable using recently released h3lix Jailbreak. If you want to downgrade, now would be a reasonable time to do it because while this process doesn’t require SHSH blobs, it does require you to have jailbreak on the device before you can downgrade. And of course, there’s also jailbreak available on iOS 8.4.1 should you wish to get jailbroken on that firmware after the downgrade process.
Oh, and here’s how!
Step 1: On your jailbroken device, go to Cydia > Sources > Add and then add the repo.ftios.vn repository.
Step 2: Navigate to the newly addded ftios.vn repository and install the “Downgrade iOS 10.x to 8.x” package.
Step 3: After installation, reboot your device. This might take a while – sit tight!
Step 4: Once the restart completes, go to Settings > General > Software Update and install iOS 8.4.1 OTA update.
Step 5: After installing iOS 8.4.1, go to Settings > General > Reset > Erase all contents and settings.
Step 6: That’s all there is to it. At this point, you can re-jailbreak if you so desire using yalu841.

This process may well also work with an iPad 4 but that is as yet unconfirmed. Use at your own risk, if that’s the device you want to downgrade!
You may also like to check out:
- iOS 10.3.3 Jailbreak Meridian For 64-Bit Devices Demoed, Coming Soon
- Jailbreak iOS 11.2.1 / 11.2 / 11.2.5 On iPhone And iPad [Status Update]
- LiberiOS iOS 11 Jailbreak, Cydia And Substrate: Here’s What You Need To Know
- Jailbreak iOS 11 / 11.1.2 Using LiberiOS, Here’s How [Tutorial]
- LiberiOS iOS 11.1.2 / iOS 11 Jailbreak IPA Download For iPhone X, 8 And Other Devices Released
- Jailbreak tvOS 11 / 11.1 On Apple TV 4 / 4K Using LiberTV 1.1
- Downgrade iOS 11 / 11.2.1 To 11.1.2 On iPhone Or iPad [How-To Guide]
- Jailbreak iOS 11 / 11.1.2 On iPhone X, 8, 7, iPad Using LiberiOS [Updated]
You can follow us on Twitter, add us to your circle on Google+ or like our Facebook page to keep yourself updated on all the latest from Microsoft, Google, Apple and the Web.

