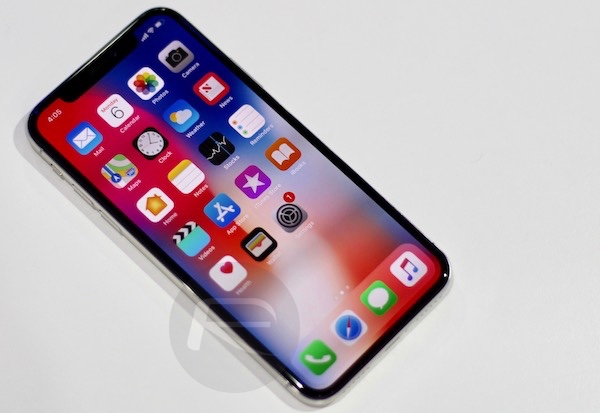
Thanks to the release of the async_awake exploits by Ian Beer of Google Project Zero, which is applicable on iOS 11.1.2 and below, users now have the ability to change the resolution on any iPhone or iPad running a compatible and exploitable firmware.
We’re going to show you how to do it here. This exploit alone is capable of doing this. No full jailbreak is required for this to work.

Without wasting any additional time, let’s just dive right in and take a look at the process. But remember, with great power comes an enhanced level of responsibility, so please make sure that you are comfortable with what you are doing here before you proceed. This is meant for advanced users only. Also, there’s a bit of risk involved here as not every kind of resolution will be support or work on your device. Proceed with caution because if you mess it up, you will likely be required to restore using iTunes, and doing so will bring your device to iOS 11.2.1 as Apple is no longer signing iOS 11.1.2 – the firmware which is likely to get a jailbreak soon.
With that out of the way, lets see what exactly do you need for this to work. A Mac running Xcode is required. Xcode is a free IDE provided by Apple that can be downloaded from the Mac App Store. There’s of course also a requirement of any iPhone or iPad running iOS 11.0-11.1.2 firmware.
Step 1: First of all, you are going to need to head over to GitHub and download the async_wake project hosted by user benjibobs from here. This project has recently been updated to easily allow the changing of resolution.
Step 2: Once that project has been downloaded, open it in Xcode. Inside of the project file structure, you will be able to see a file called async_wake.c. Head into this file and look for the method/function which is called shouldChangeResolution. This will come with a boolean value which looks like this: bool shouldChangeResolution = false;
Step 3: You simply need to replace the word “false” with the word” true“.
Step 4: Once that boolean has been changed, locate the plist file called “com.apple.iokit.IOMobileGraphicsFamily.plist”. Inside of here, you will find a couple of properties which can be changed under the titles “canvas_height” and “canvas_width”. Change those values to suit your needs.
NOTE: You may need to jump into Google to find some good upscale resolutions which suit the device that you are using. Do not just blindly change these numbers without knowing what it is you are actually doing.
Step 5: Now, using Xcode, compile and run the resultant executable directly on your device. Make sure that you have the target set to a connected device and not the iOS Simulator. If successful, you should get a message which reads “Resolution changed, please reboot.”

Do as you’re told and reboot the device. Once rebooted, the resolution on the device should be changed to the values you specified in canvas_height and canvas_width.
You may also like to check out:
- iOS 10.3.3 Jailbreak Gets Detailed, Here’s What You Need To Know
- Downgrade From iOS 11.2.1 To 11.1.2 For Jailbreak No Longer Possible Now, Here’s Why
- iOS 11.2.1 / 11.2 Jailbreak Untethered Has Been Successfully Achieved
- Download: iOS 11.2.5 Beta 1 IPSW Links, OTA Update Released For iPhone And iPad
- Download iOS 11.2.1 IPSW Links And OTA Update With Critical Fix
- Download iOS 11, 11.2, 11.1.2 Links & Install On iPhone X, 8, 7 Plus, 6s, 6, SE, iPad, iPod [Tutorial]
- Downgrade iOS 11 / 11.2.1 To 11.1.2 On iPhone Or iPad [How-To Guide]
- Jailbreak iOS 11 / 11.2.1 / 11.1.2 On iPhone And iPad [Status Update]
You can follow us on Twitter, add us to your circle on Google+ or like our Facebook page to keep yourself updated on all the latest from Microsoft, Google, Apple and the Web.

