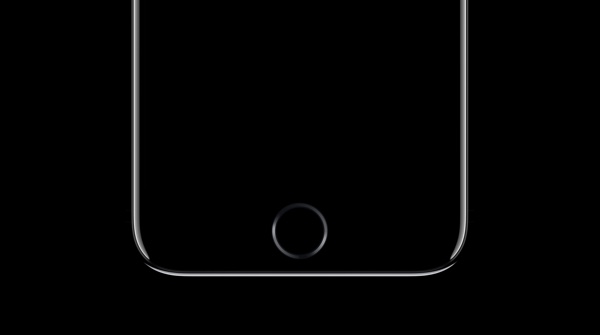
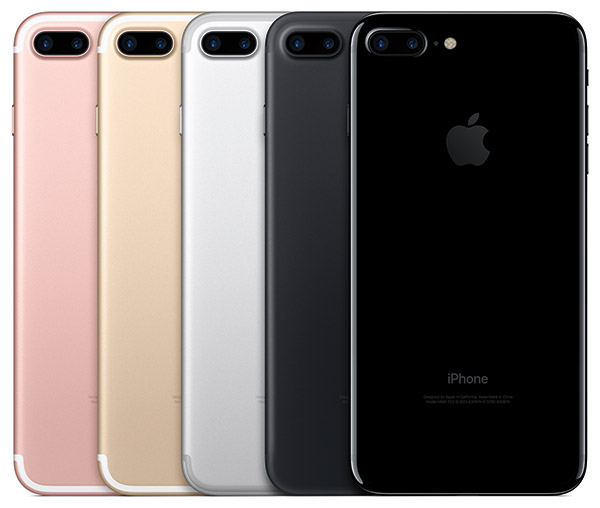
Here’s how you can enter DFU mode on an iPhone 7 or iPhone 7 Plus. As you may already know by now, Apple’s iPhone 7 and iPhone 7 Plus features a new capacitive Home/Touch ID button that uses the company’s proprietary Taptic Engine to provide feedback when an action has been complete instead of being mechanical like on previous iPhones.
This new Home button integration means that the process of putting both devices into DFU mode has changed slightly to accommodate the removal of the mechanical button. We’re going to run you through the new DFU mode process to allow you to familiarize yourself for when the need arises.

Step 1: First and foremost, you’re going to need to ensure that you have the latest version of Apple’s iTunes installed on your Mac or Windows-powered PC. This is something that a lot of people forget about and think that iTunes isn’t really that important. As of this writing, the latest version of iTunes is version 12.5.1. Make sure you have it installed on your computer before proceeding with other steps.
Step 2: Now with latest version of iTunes installed on the computer, take your iPhone 7 or iPhone 7 Plus and plug it into your Mac or PC via the supplied Lightning cable.
Step 3: Now power down your iPhone 7 as you normally would by pressing and holding the power/lock button until the slide to power off prompt appears. Slide it to turn it off.
Step 4: Once the phone is turned off, press and hold the power/lock button on the right side of the iPhone 7 or 7 Plus for a period of 3 seconds. With the power/lock button still pressed, press and hold the volume down button on the other side of the iPhone. Keep holding both buttons down together for approximately 10 seconds.
Step 5: After approximately 10 seconds, release the power/lock button, but make sure that you continue to keep the volume down button held down for another 5 seconds.
If you either see the Apple logo appear on the screen, or if you see the iTunes logo with Lightning cable appear on screen, then you have held the volume down button down for too long. In either instance you will have to re-start the process again.
Step 6: If you nail the timings, the display will remain all black, confirming that the device has entered into DFU mode successfully. iTunes will also confirm this with a message.
Now that the hardware has successfully been put into DFU mode, you should be able to run through the usual process of actually restoring it if required. If at first you don’t succeed, make sure to keep trying again as it will take a little while to get used to the new method.

You may also like to check out:
- iPhone 7 Vs iPhone 7 Plus Vs 6s vs 6s Plus Vs SE [Specs Comparison]
- iPhone 7 Plus Vs Galaxy S7 Edge Vs Note 7 [Specs Comparison]
- iPhone 7 Jet Black Vs Black Color Comparison / Difference
You can follow us on Twitter, add us to your circle on Google+ or like our Facebook page to keep yourself updated on all the latest from Microsoft, Google, Apple and the Web.

