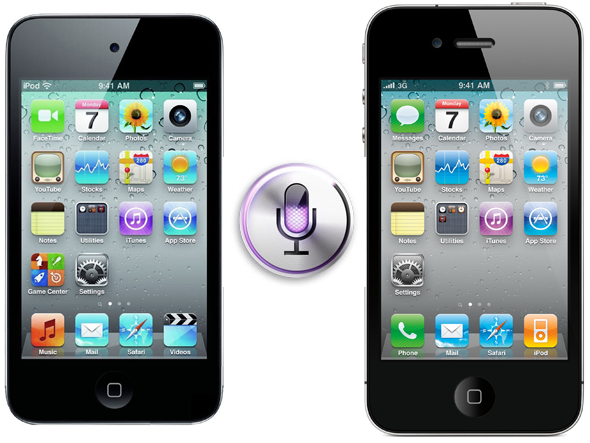
Siri has finally been ported over to older iOS devices and, unlike last time, there is a way you can install it right now. If you’re interested, you can follow the guide after the jump!

Siri was revealed at Apple’s Let’s Talk iPhone event on October 14th as a voice-based personal assistant which, well, allowed you to use your iPhone’s many “smart” features through voice alone. It was included as one of the three main features of the new iPhone 4S (the other being a best-in-class dual-core chip and advanced optics) and is exclusive to it, meaning folks on older iOS devices were left to set reminders and alarms, call their contacts and send emails through (shudder) touch input.
Well, there is now a way to install Siri, at least its GUI, on older iOS devices such as the iPhone 4 and iPod touch 4G.
Yes, if you read the above sentence carefully, you’ll find that this port is GUI only so you will not be able to use voice commands like you would on an iPhone 4S. This is because of the fact that Apple’s servers, which process your Siri voice input data, do not accept data for Siri from an iOS device unless it is from an iPhone 4S.
What’s the point, then? Well, that’s a very good question and our answer may not satisfy you: the fact that the community has got the GUI working has us hoping that they just might find a way to trick Apple’s servers into receiving data from older devices. This guide is strictly just for those of you who want to try the graphical elements of Siri on older iOS devices without actual functionality, or in others words, just for showing it off as it has no other practical use.
How To Install Siri GUI On iPhone 4 and iPod touch 4G
DISCLAIMER: We here at Redmond Pie have not tested this method and do not recommend installing Siri on your iPhone 4 or iPod touch 4G. The following instructions are shared for educational purposes only. Proceed at your own risk.
Step 1: Jailbreak your iPhone/iPod touch on iOS 5 using Redsn0w or Sn0wbreeze.
Step 2: Download files required for the Siri port to iPhone 4 and iPod touch 4G. You will have to find these files yourself as we wont be able to share these files with you.
Step 3: Using a file explorer for your iOS device, copy over the AssistantServices.framework folder you downloaded in Step 2 to Root > System > Library > PrivateFrameworks after plugging in your device to your computer via USB.
Step 4: Transfer all files from the Springboard folder in Step 2 to Root > System > Library > CoreServices > Springboard.app on your iOS device.
Step 5: Using iFile (you can get it from Cydia), open the .plist file for your iOS device from System > Library > CoreServices > Springboard.app. It will be named N81AP for iPod touch 4G and N9x for iPhone 4 (where x may be 0, 1, 2).
Step 6: Add a new property list named assistant to the .plist file and set its class as Boolean while setting its value as YES.
Step 7: Add the following to the .plist file:
<key>assistant</key><true/>
Step 8: Respring your iOS device.
If you followed the steps correctly, Siri’s GUI will be installed on your iOS device. You can hold the Home button to activate it. Once again, we remind you that voice commands don’t work yet since Apple’s servers don’t accept voice command input from iPhone 4 or iPod touch 4G.
If you prefer video over text, you can follow the video guide embedded below:
(thanks @euwars for the hat tip!)
You can follow us on Twitter or join our Facebook page to keep yourself updated on all the latest from Microsoft, Google, Apple and the web.

